


Last Updated By: Sam Heinicke June 2017
Section 1 - Accessing Files Using old.masters.edu
Section 1 - Accessing Files Using old.masters.edu
After the email change, you will no longer be able to login with your mail.masters.edu address. old.masters.edu is the address to use and access your old email account in case any information did not transfer over. Once the change occurs above rather than logging in with mail.masters.edu you will use old.masters.edu. for example smithj@old.masters.edu
Note: These instructions are split into two parts, Web back up and client backup. You only need to follow one of these parts as the data is the same, its just personal preference in terms of what method is used.
Part 1: Web Backup Instructions
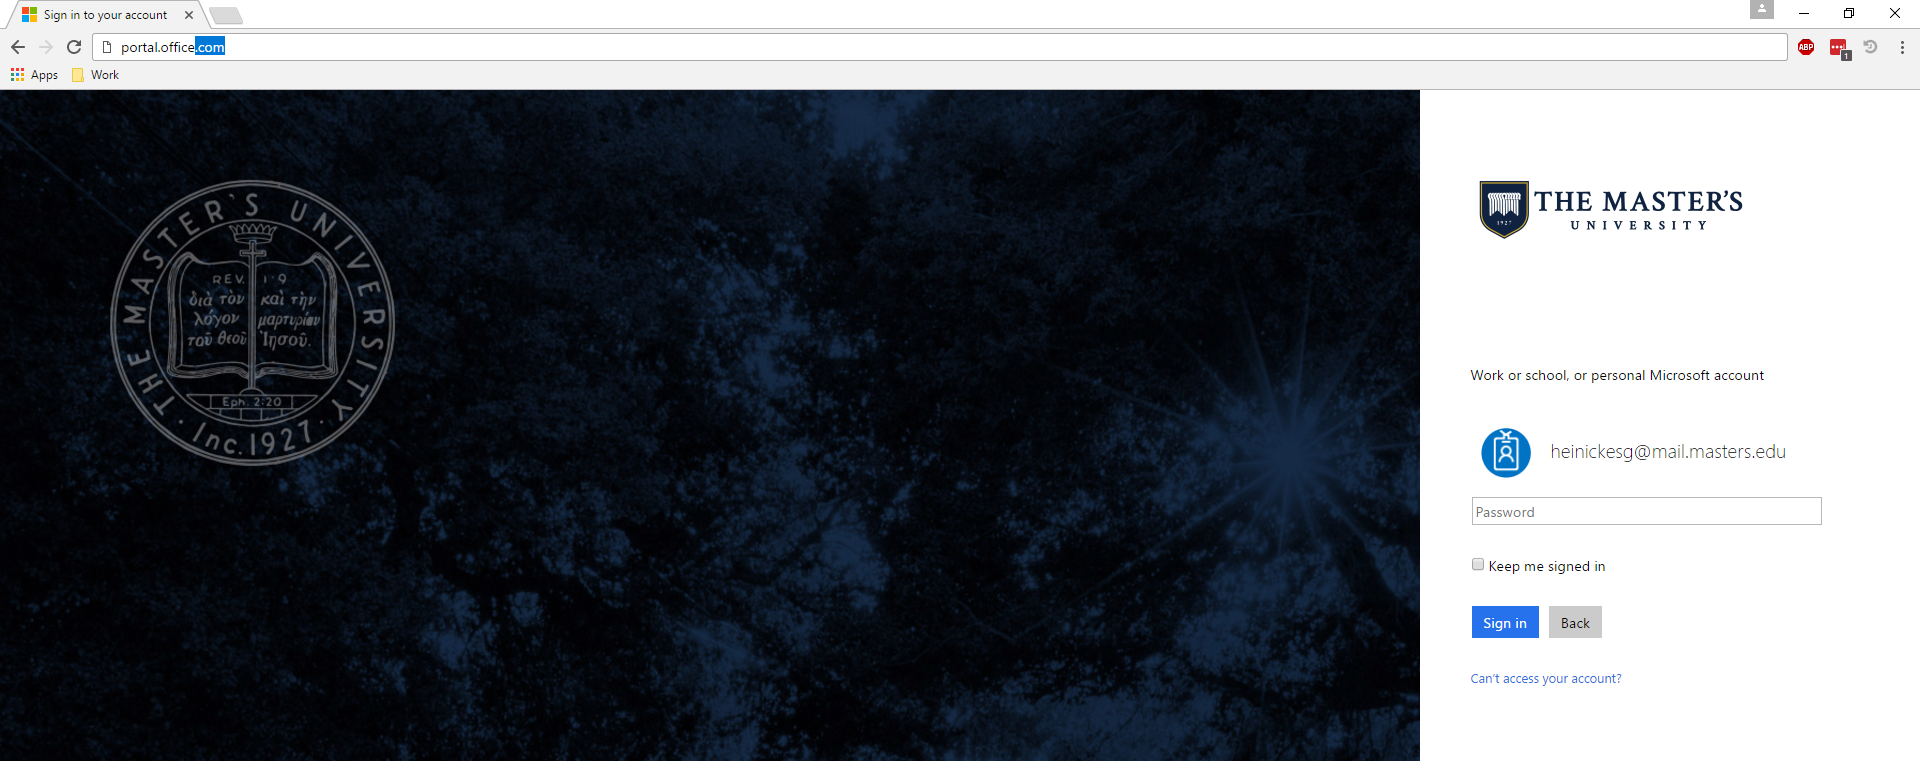
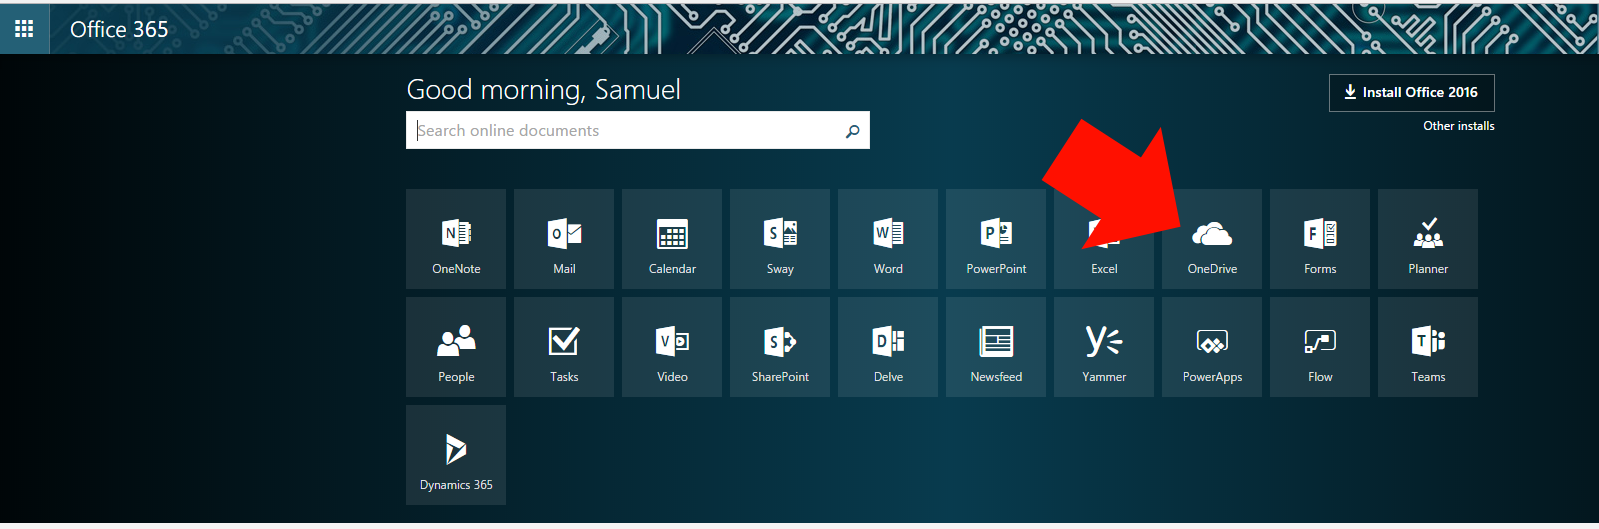
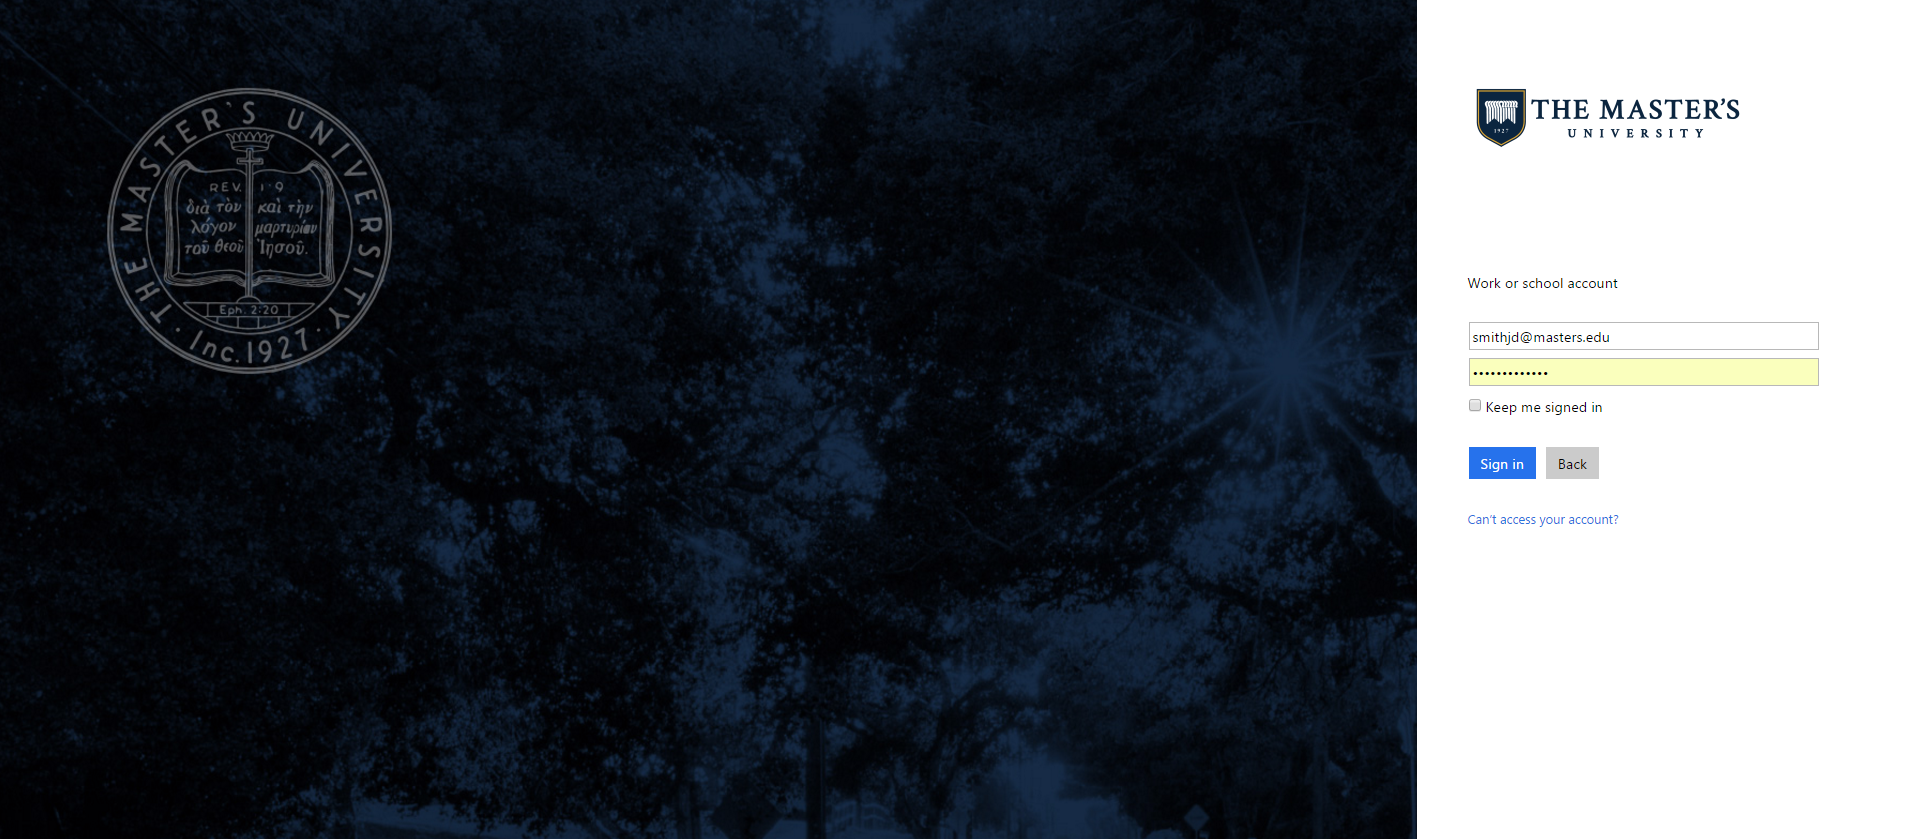
1. Navigate to portal.office.com and login with your mail.masters.edu account. (for example smithjd@mail.masters.edu)
2. Once Logged in you will see a number of icons, Click the one drive icon

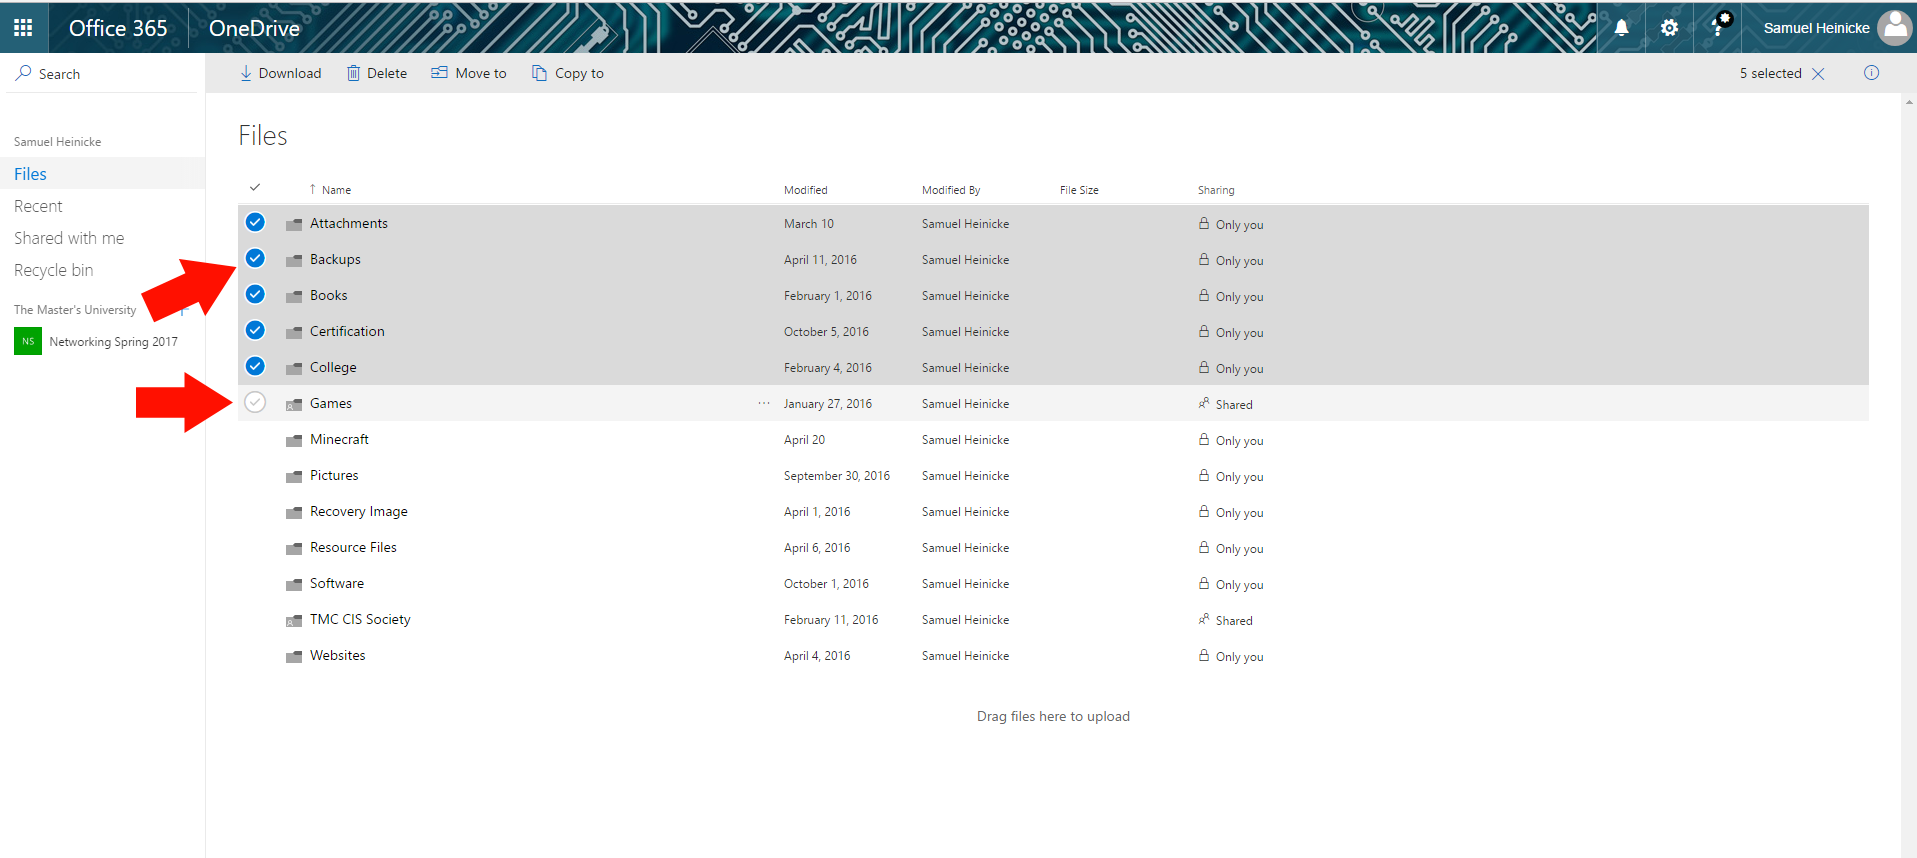
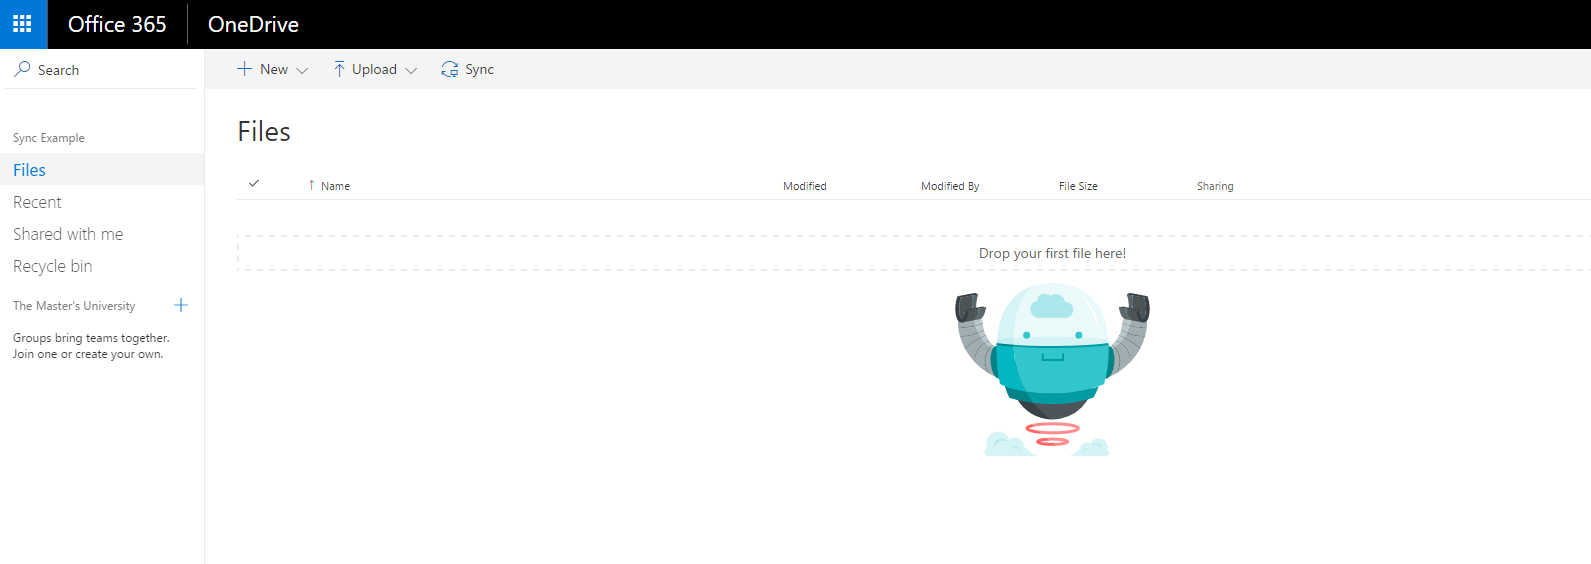
3. Once Loaded you will see all the files you have stored in OneDrive. The folders and files will vary depending on what you have stored in OneDrive. To the left of each of the folders and files will be a check mark, Click each check mark next to the files and folders you want to backup.
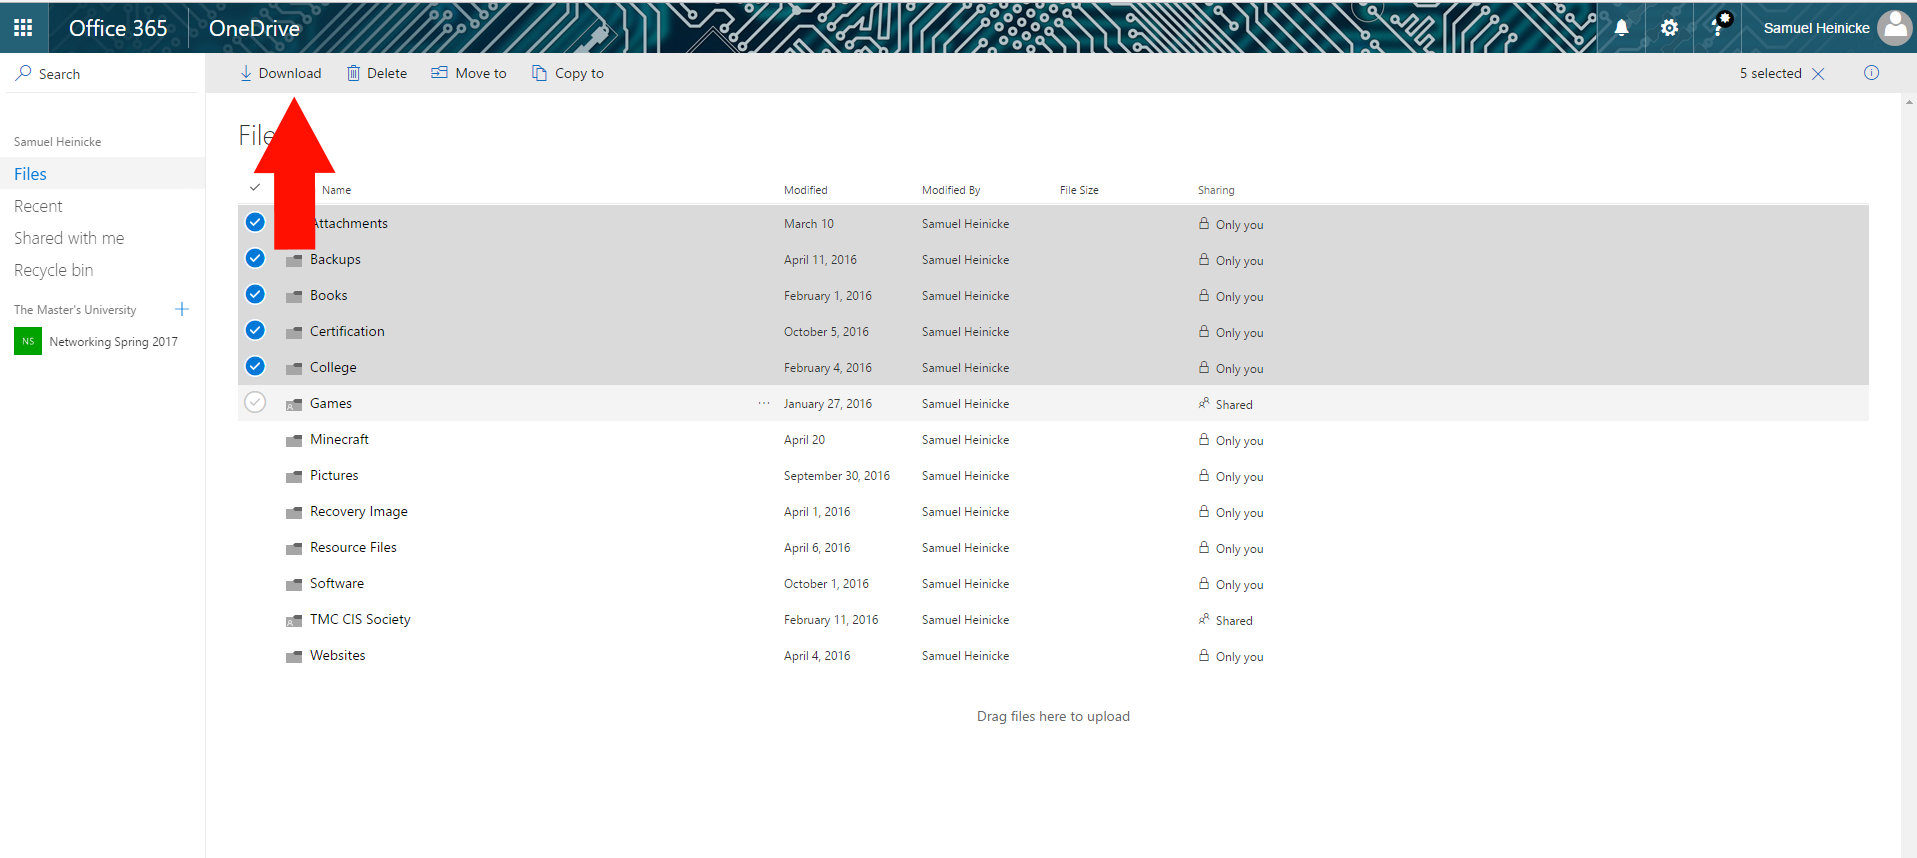
4. Click the Download Button. This will download a zip folder to your downloads folder called OneDrive_<date>.zip
Part 2: Client Backup Instructions
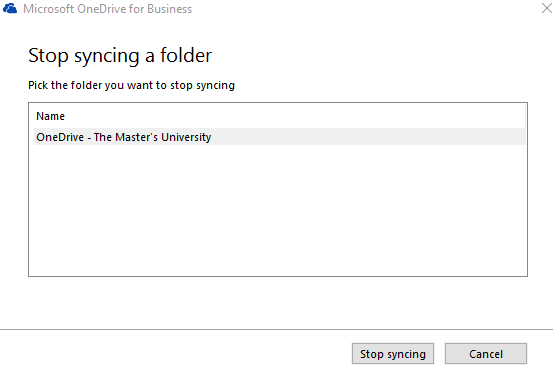
1. Right-click the OneDrive icon located in the taskbar. You may have to click the arrow to see it. Choose the "Stop Syncing a folder" option (Hint: You can also click the "Open your one drive for business folder" to view the files saved to your computer)
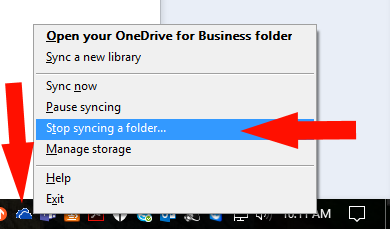
2. From the menu that comes up choose "Stop Syncing"
3. Choose "Yes" when asked are you sure you want to stop syncing
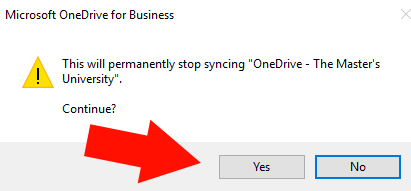
Note: A prompt may appear telling you where the files are stored, Make note of it and just click ok.
4. Your files are no longer synced with the account but are now a local copy It is recommended at this point to copy your files to a flash drive, or another folder on your computer to make sure the data is backed up. The account is now logged out so files will not be deleted or affected
5. You can now close the one drive for business client.
Section 2 - Data Restore
Note: The following steps can only be followed if you are a current student of The Master's University. Due to policy changes, Alumni will no longer have access to OneDrive and Office365
Note: These instructions are split into two parts, Web back up and client backup. You only need to follow one of these parts as the data is the same, its just personal preference in terms of what method is used.
Part 1: Web Access
1. Navigate to portal.office.com and log in with your masters.edu account. (for example smithjd@masters.edu)

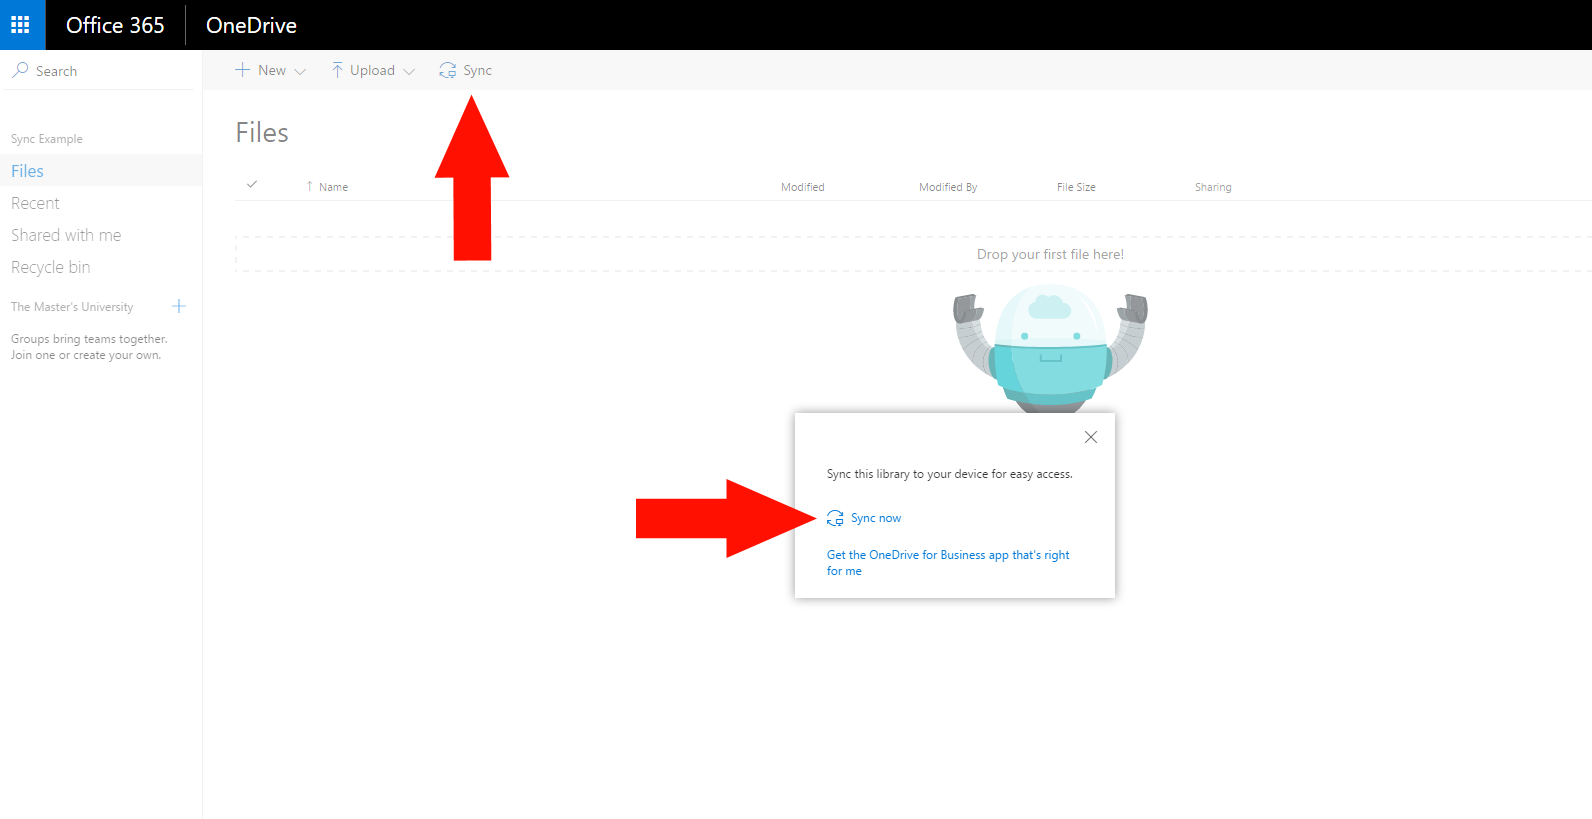
2. Once Logged in you will see a number of icons, Click the one drive icon
3. Drag and Drop files into the window Provided to upload documents
Part 2: Client Access
1. Navigate to portal.office.com and log in with your masters.edu account. (for example smithjd@masters.edu)
2. Once Logged in you will see a number of icons, Click the one drive icon

3. Press the sync button on the top bar, then from the window that shows up press "sync now"
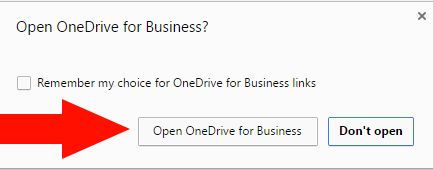
4. If an "open OneDrive for businnes?" box appears press "Open"
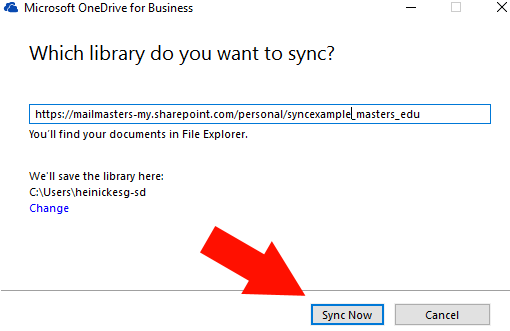
5. A new window should open up with the library URL already filled in for you. Press the "sync now"
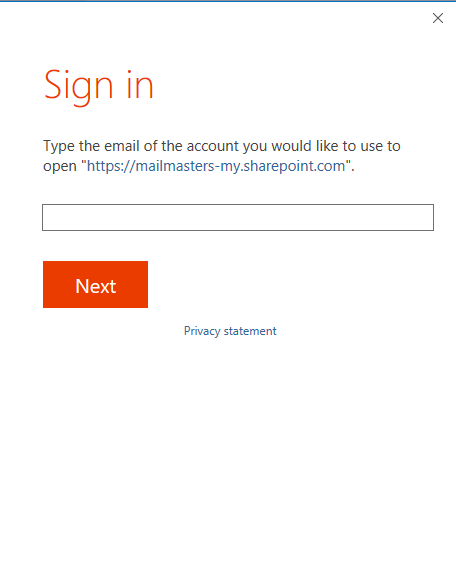
6. A sign in window will show up, Enter your masters.edu email address and password just as you did in step 1
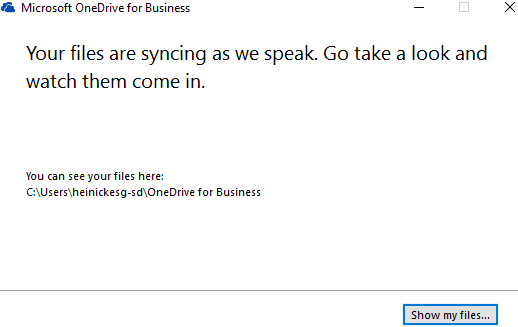
7. You are finished! The files are now syncing properly with the client.
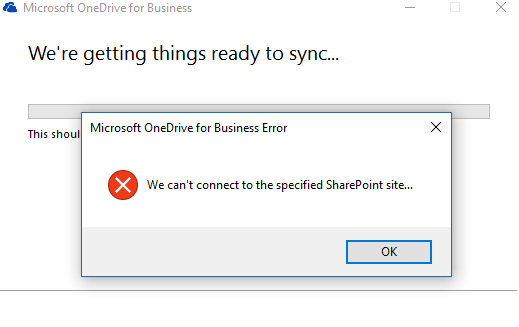
NOTE: If you receive the error below instead of a completion screen, follow these next few steps!
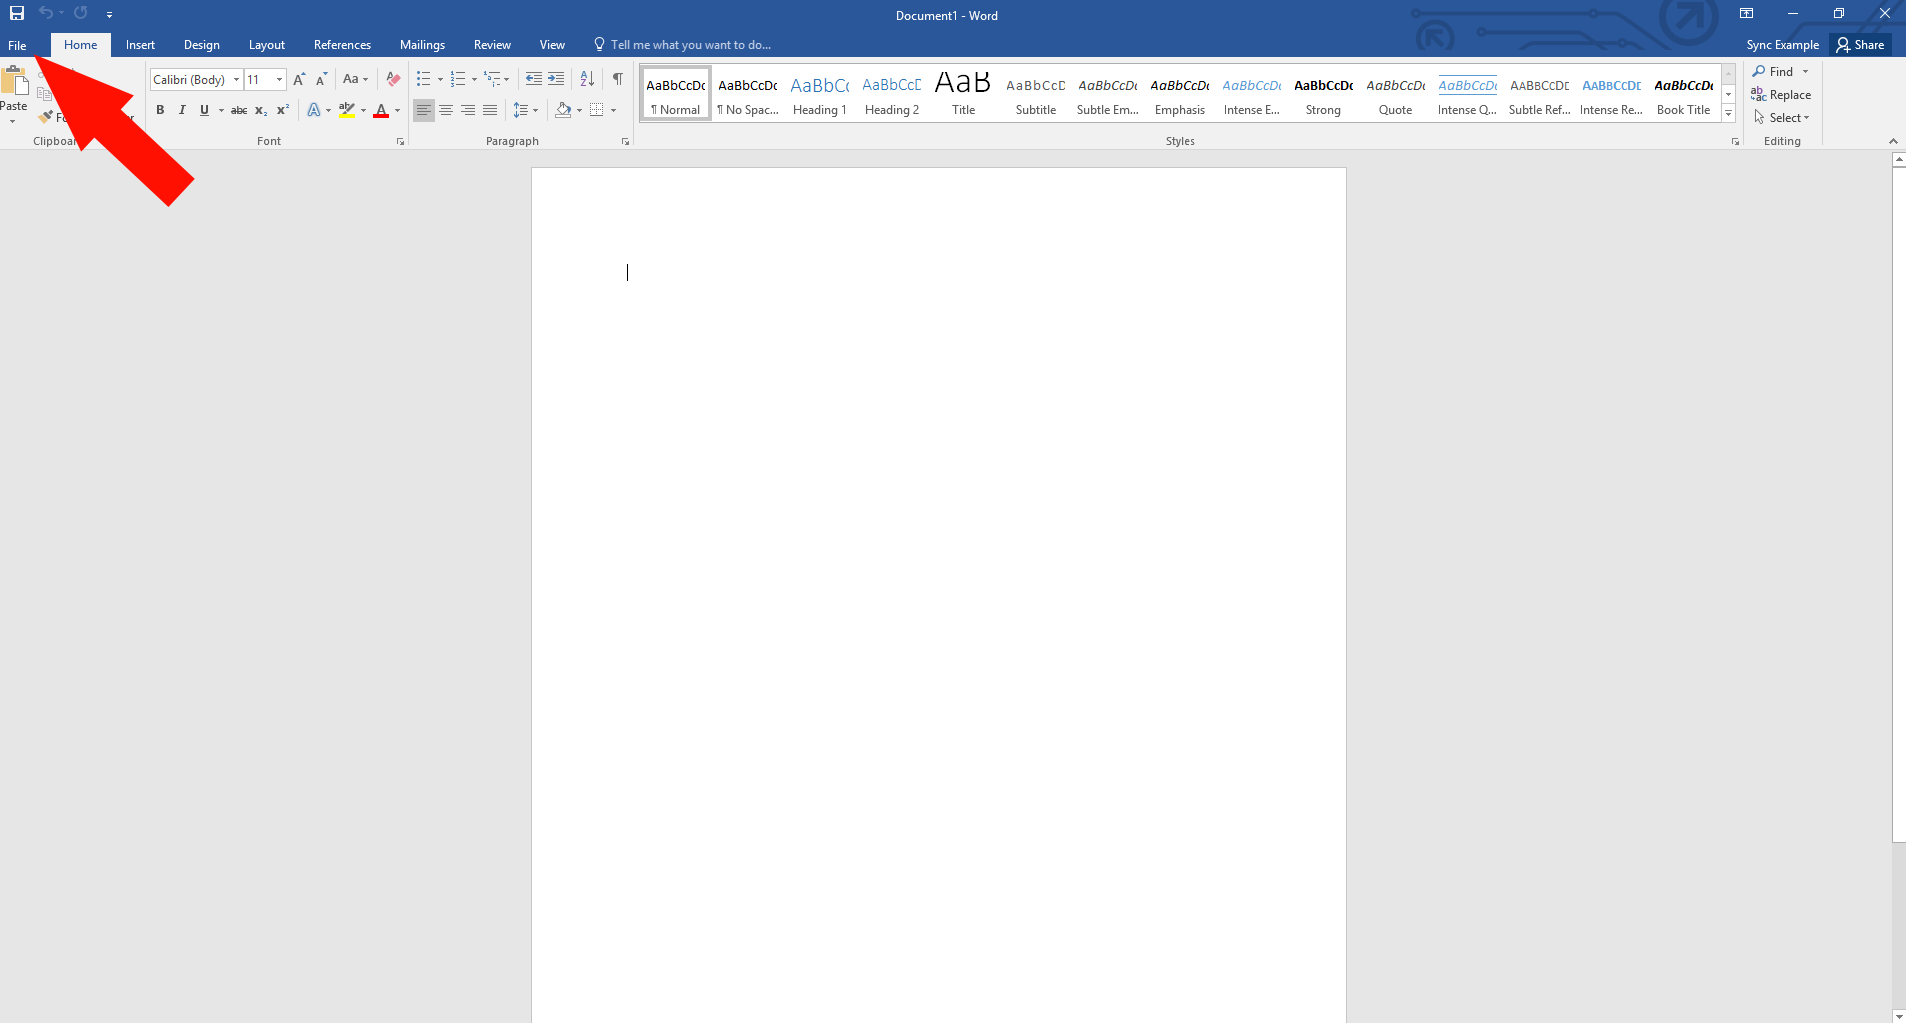
1. Open Microsoft Word (or any other office application) and click "File"
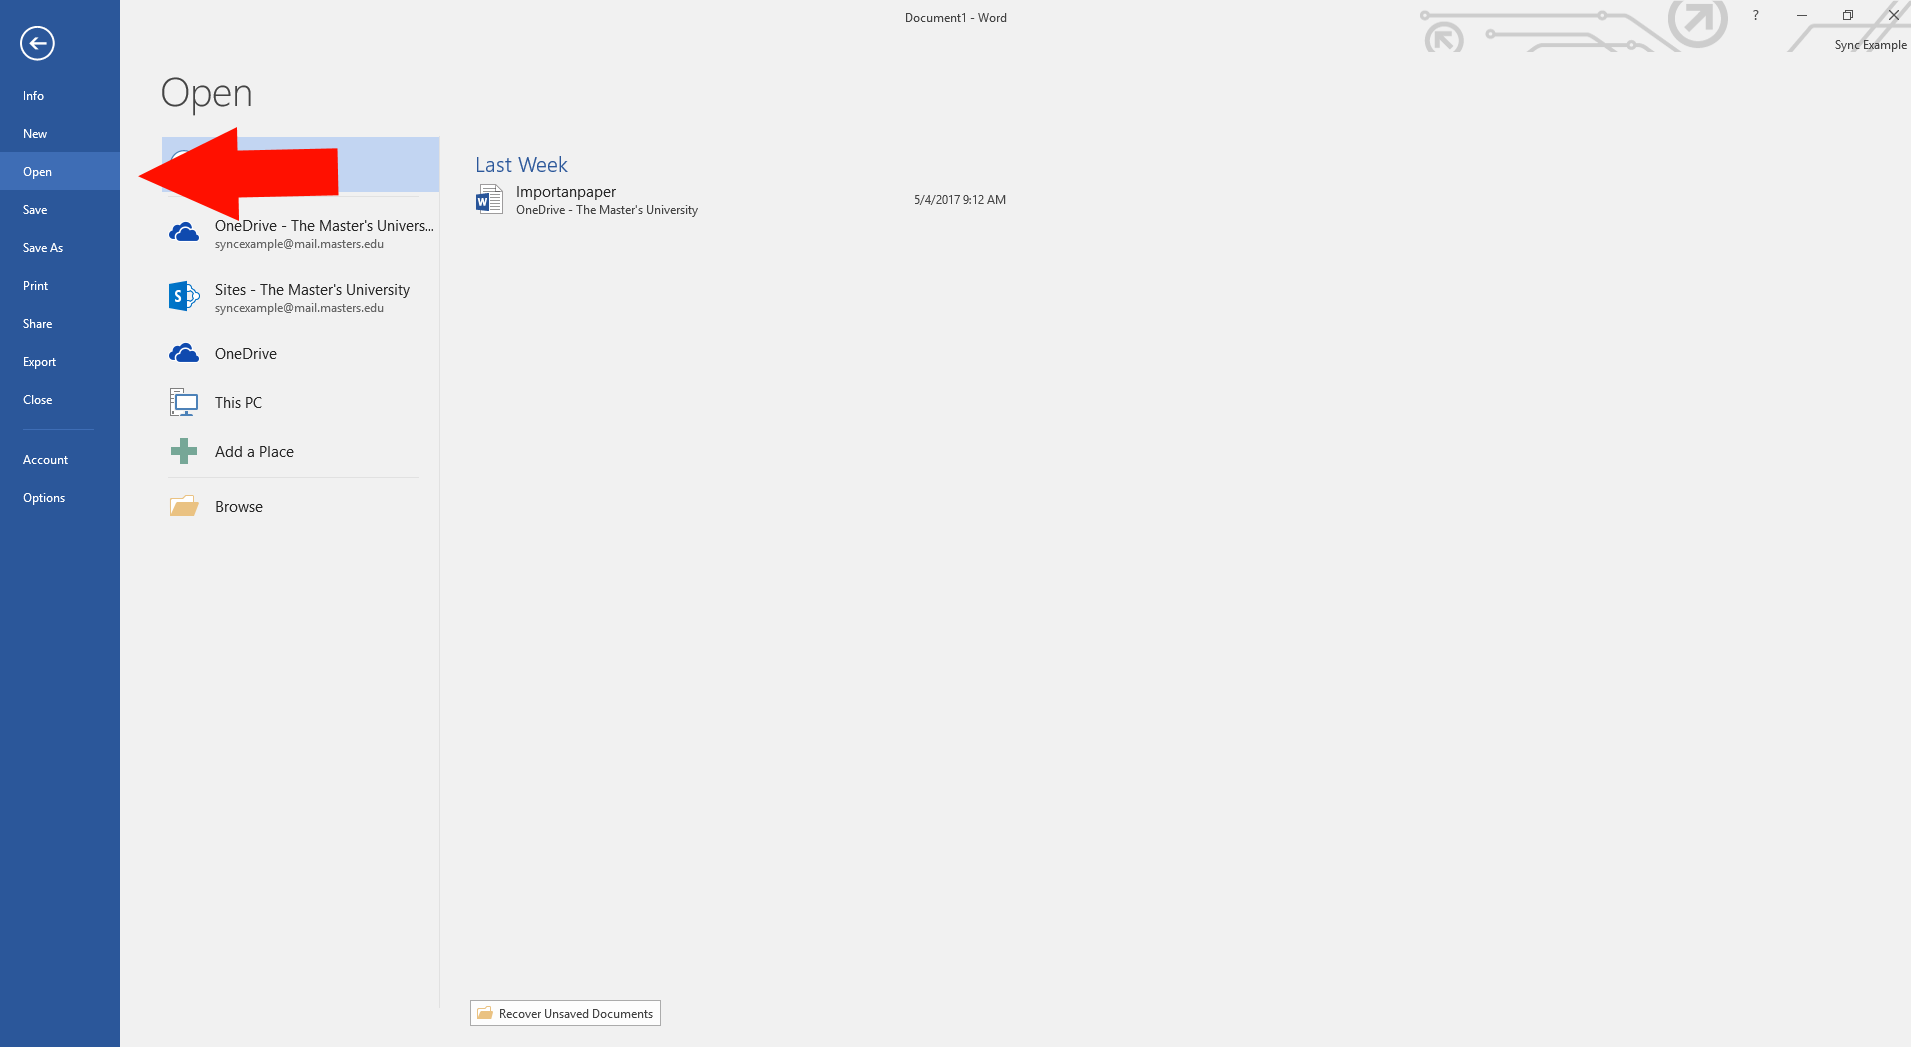
2. On the Left Hand Side choose "open"
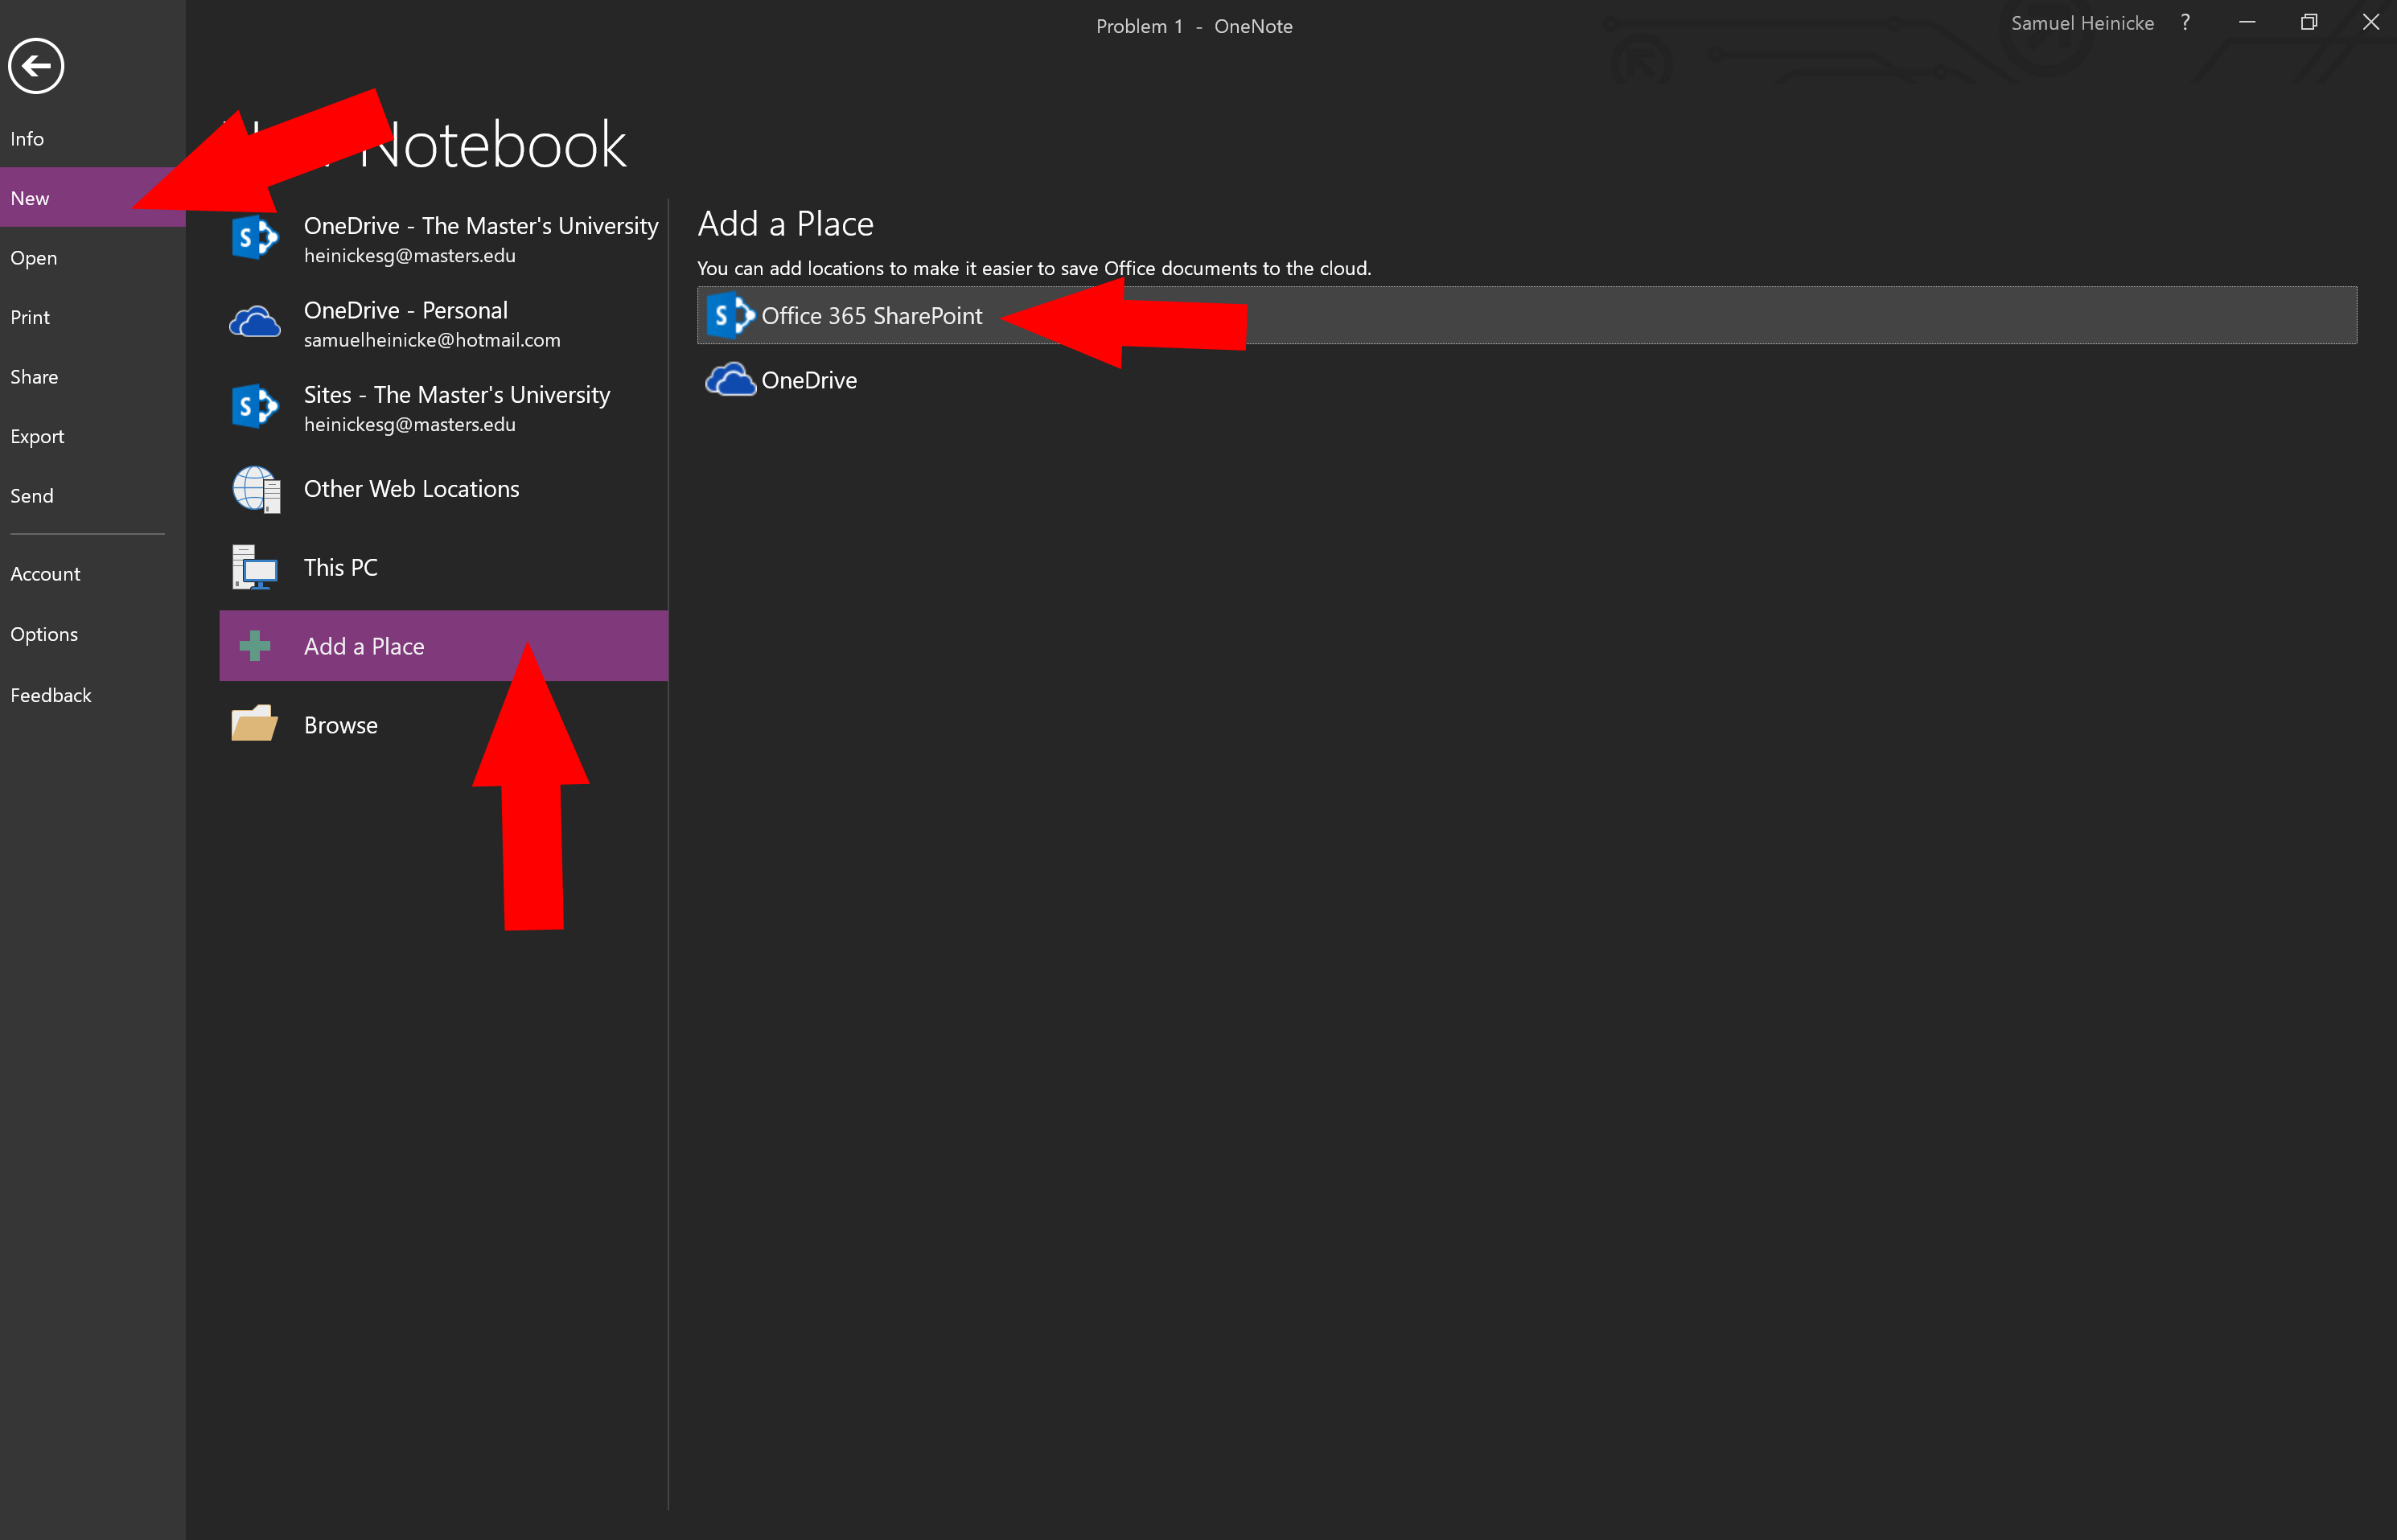
3. Choose "Add a Place" then click "Office 365 SharePoint" and log in using your masters.edu email address the same as you did in step 1
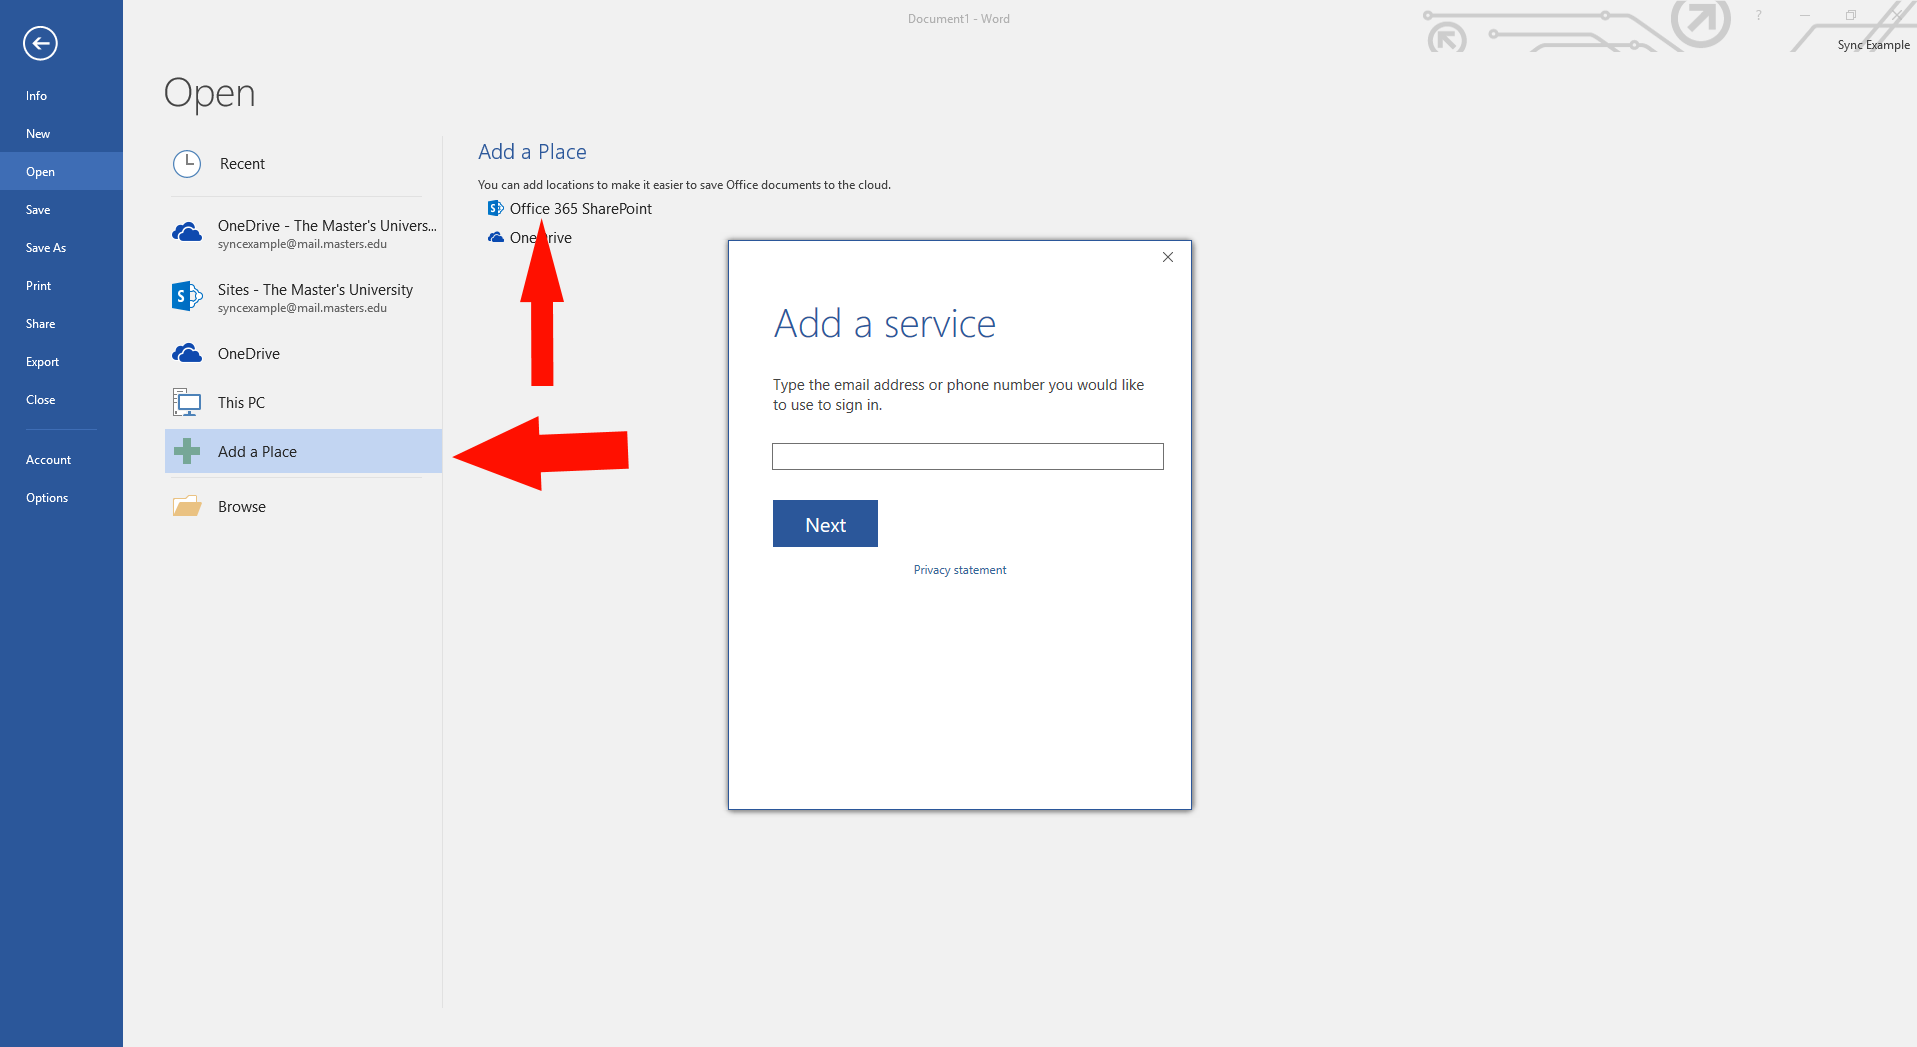
4. You should not be able to Follow steps 3-7 now and have it work. (alternatively, you can search for One Drive For Business on your computer) Please note you may have to completely close out one drive from the tray, or in some cases restart your computer before these steps will work.
Section 3 - OneNote Backup
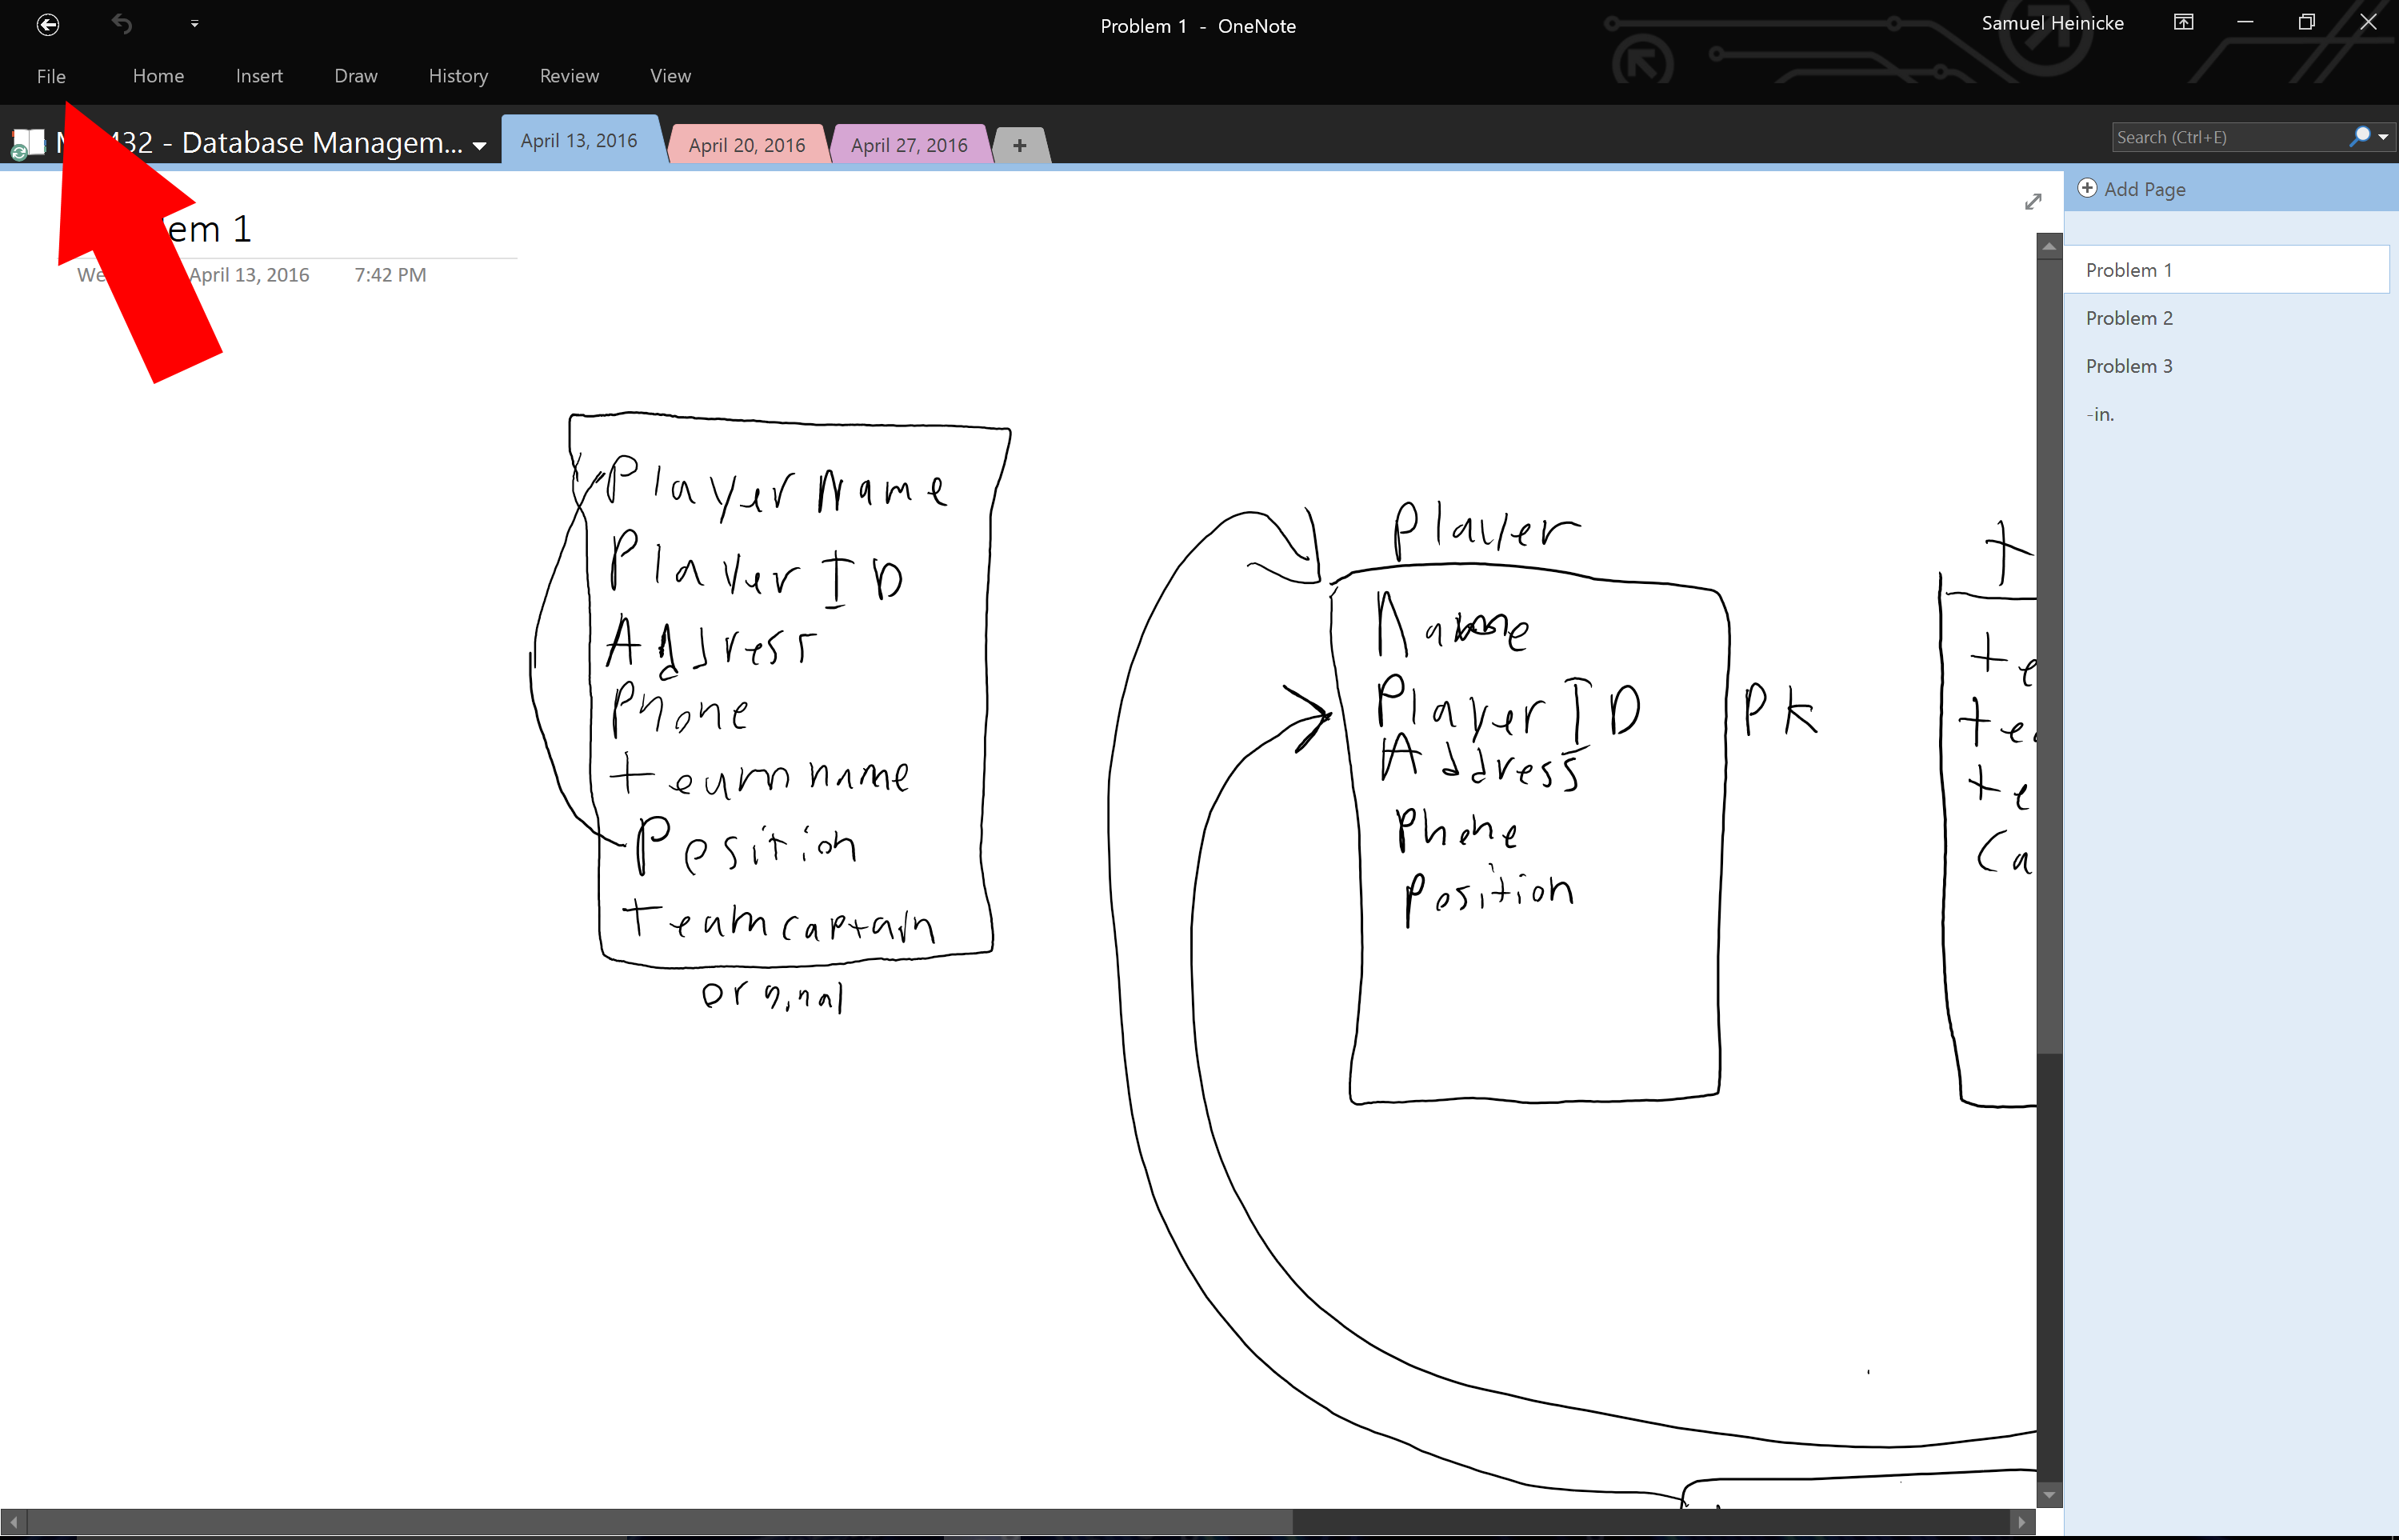
1. Make sure you have the notebook you want to backup selected (you are viewing it) Then click "File"
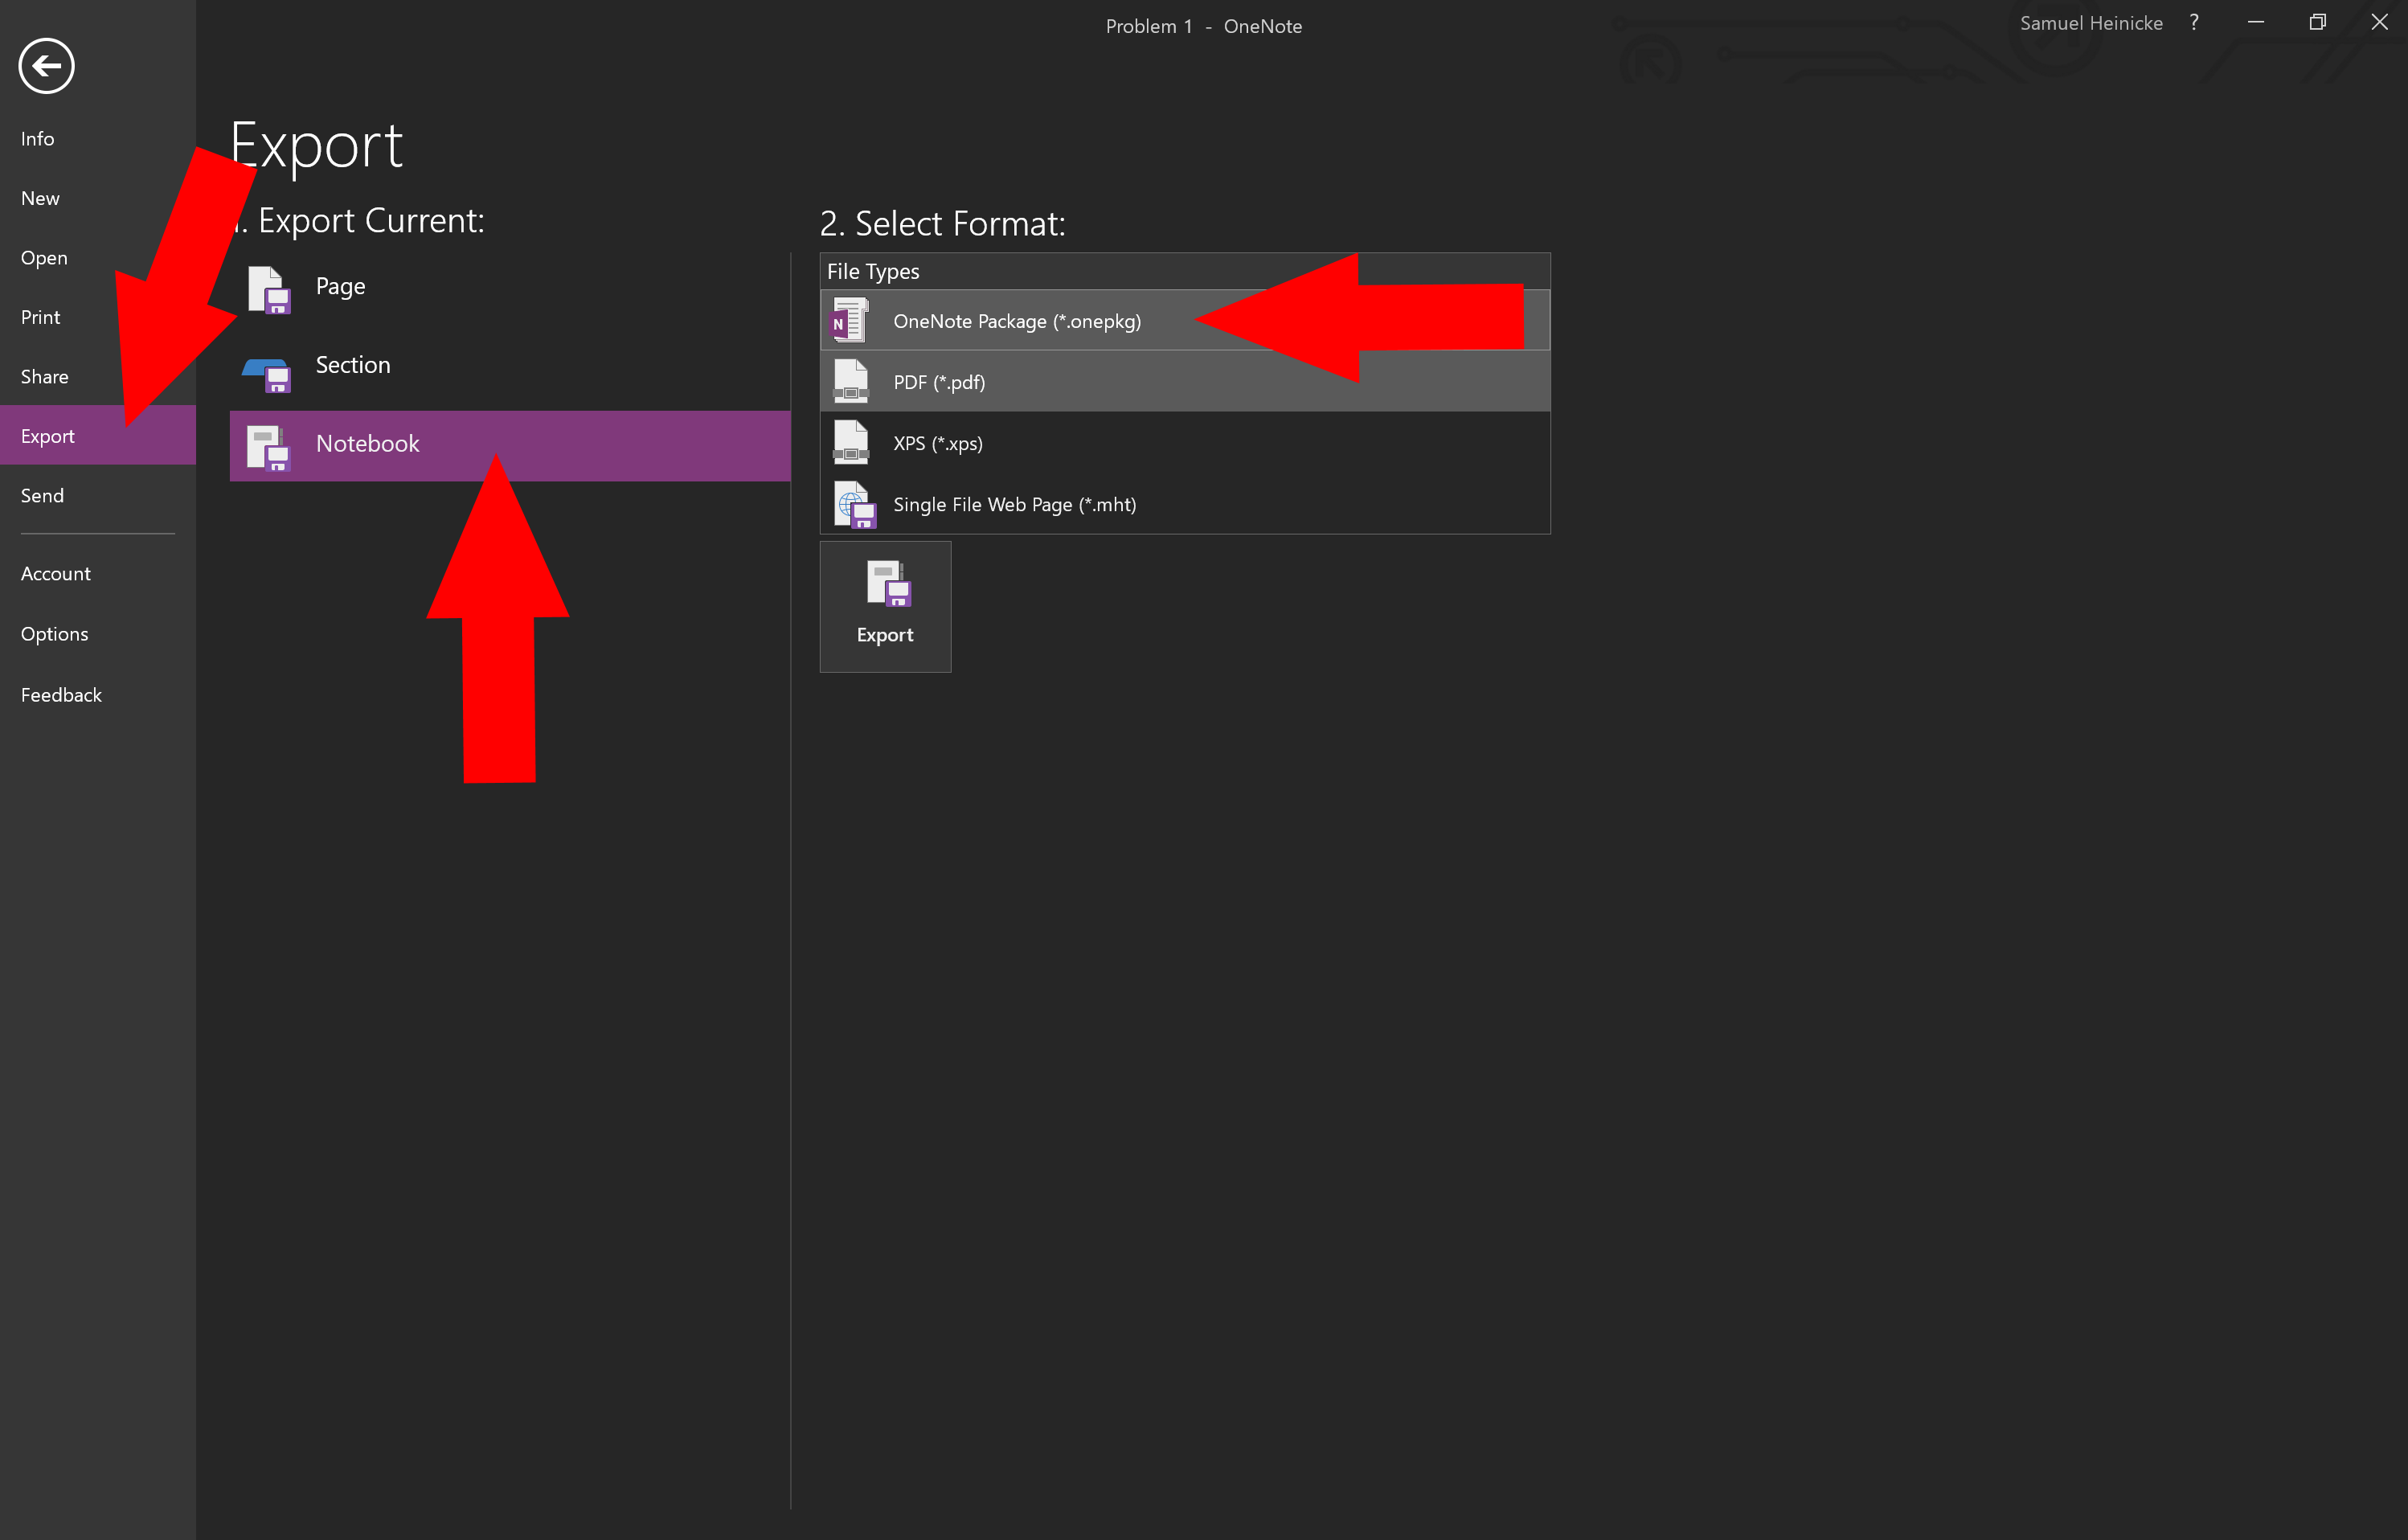
2. This will open an info Panel. Select "Export", Then Select "Notebook" and under Format choose "OneNote Package (*.onepkg)"
3. If you have not already you will want to reinstall Office365 from your masters.edu address. Some of the steps occasional have login issues when Office is logged in to your mail.masters.edu address. You can reinstall office by logging into your email, and select the "install office" button. The reason for this is to ensure that the license you have is up to date and allow you to upload back to one drive. If you only want to backup your OneNote files and do not wish to upload to one drive, then the remaining steps are optional.
Section 3 - OneNote Restore (Optional)
The following steps only apply to those wanting to add the notes back into OneNote. If you do not wish to use OneDrive and just want to keep a local copy then you only need to follow step 2 through step 4.
1. Press "File" Again to open up the info pane. Select "New", then select "Add a Place", and finally "Office 365 SharePoint". From the window that pops up log in with your @masters.edu account.
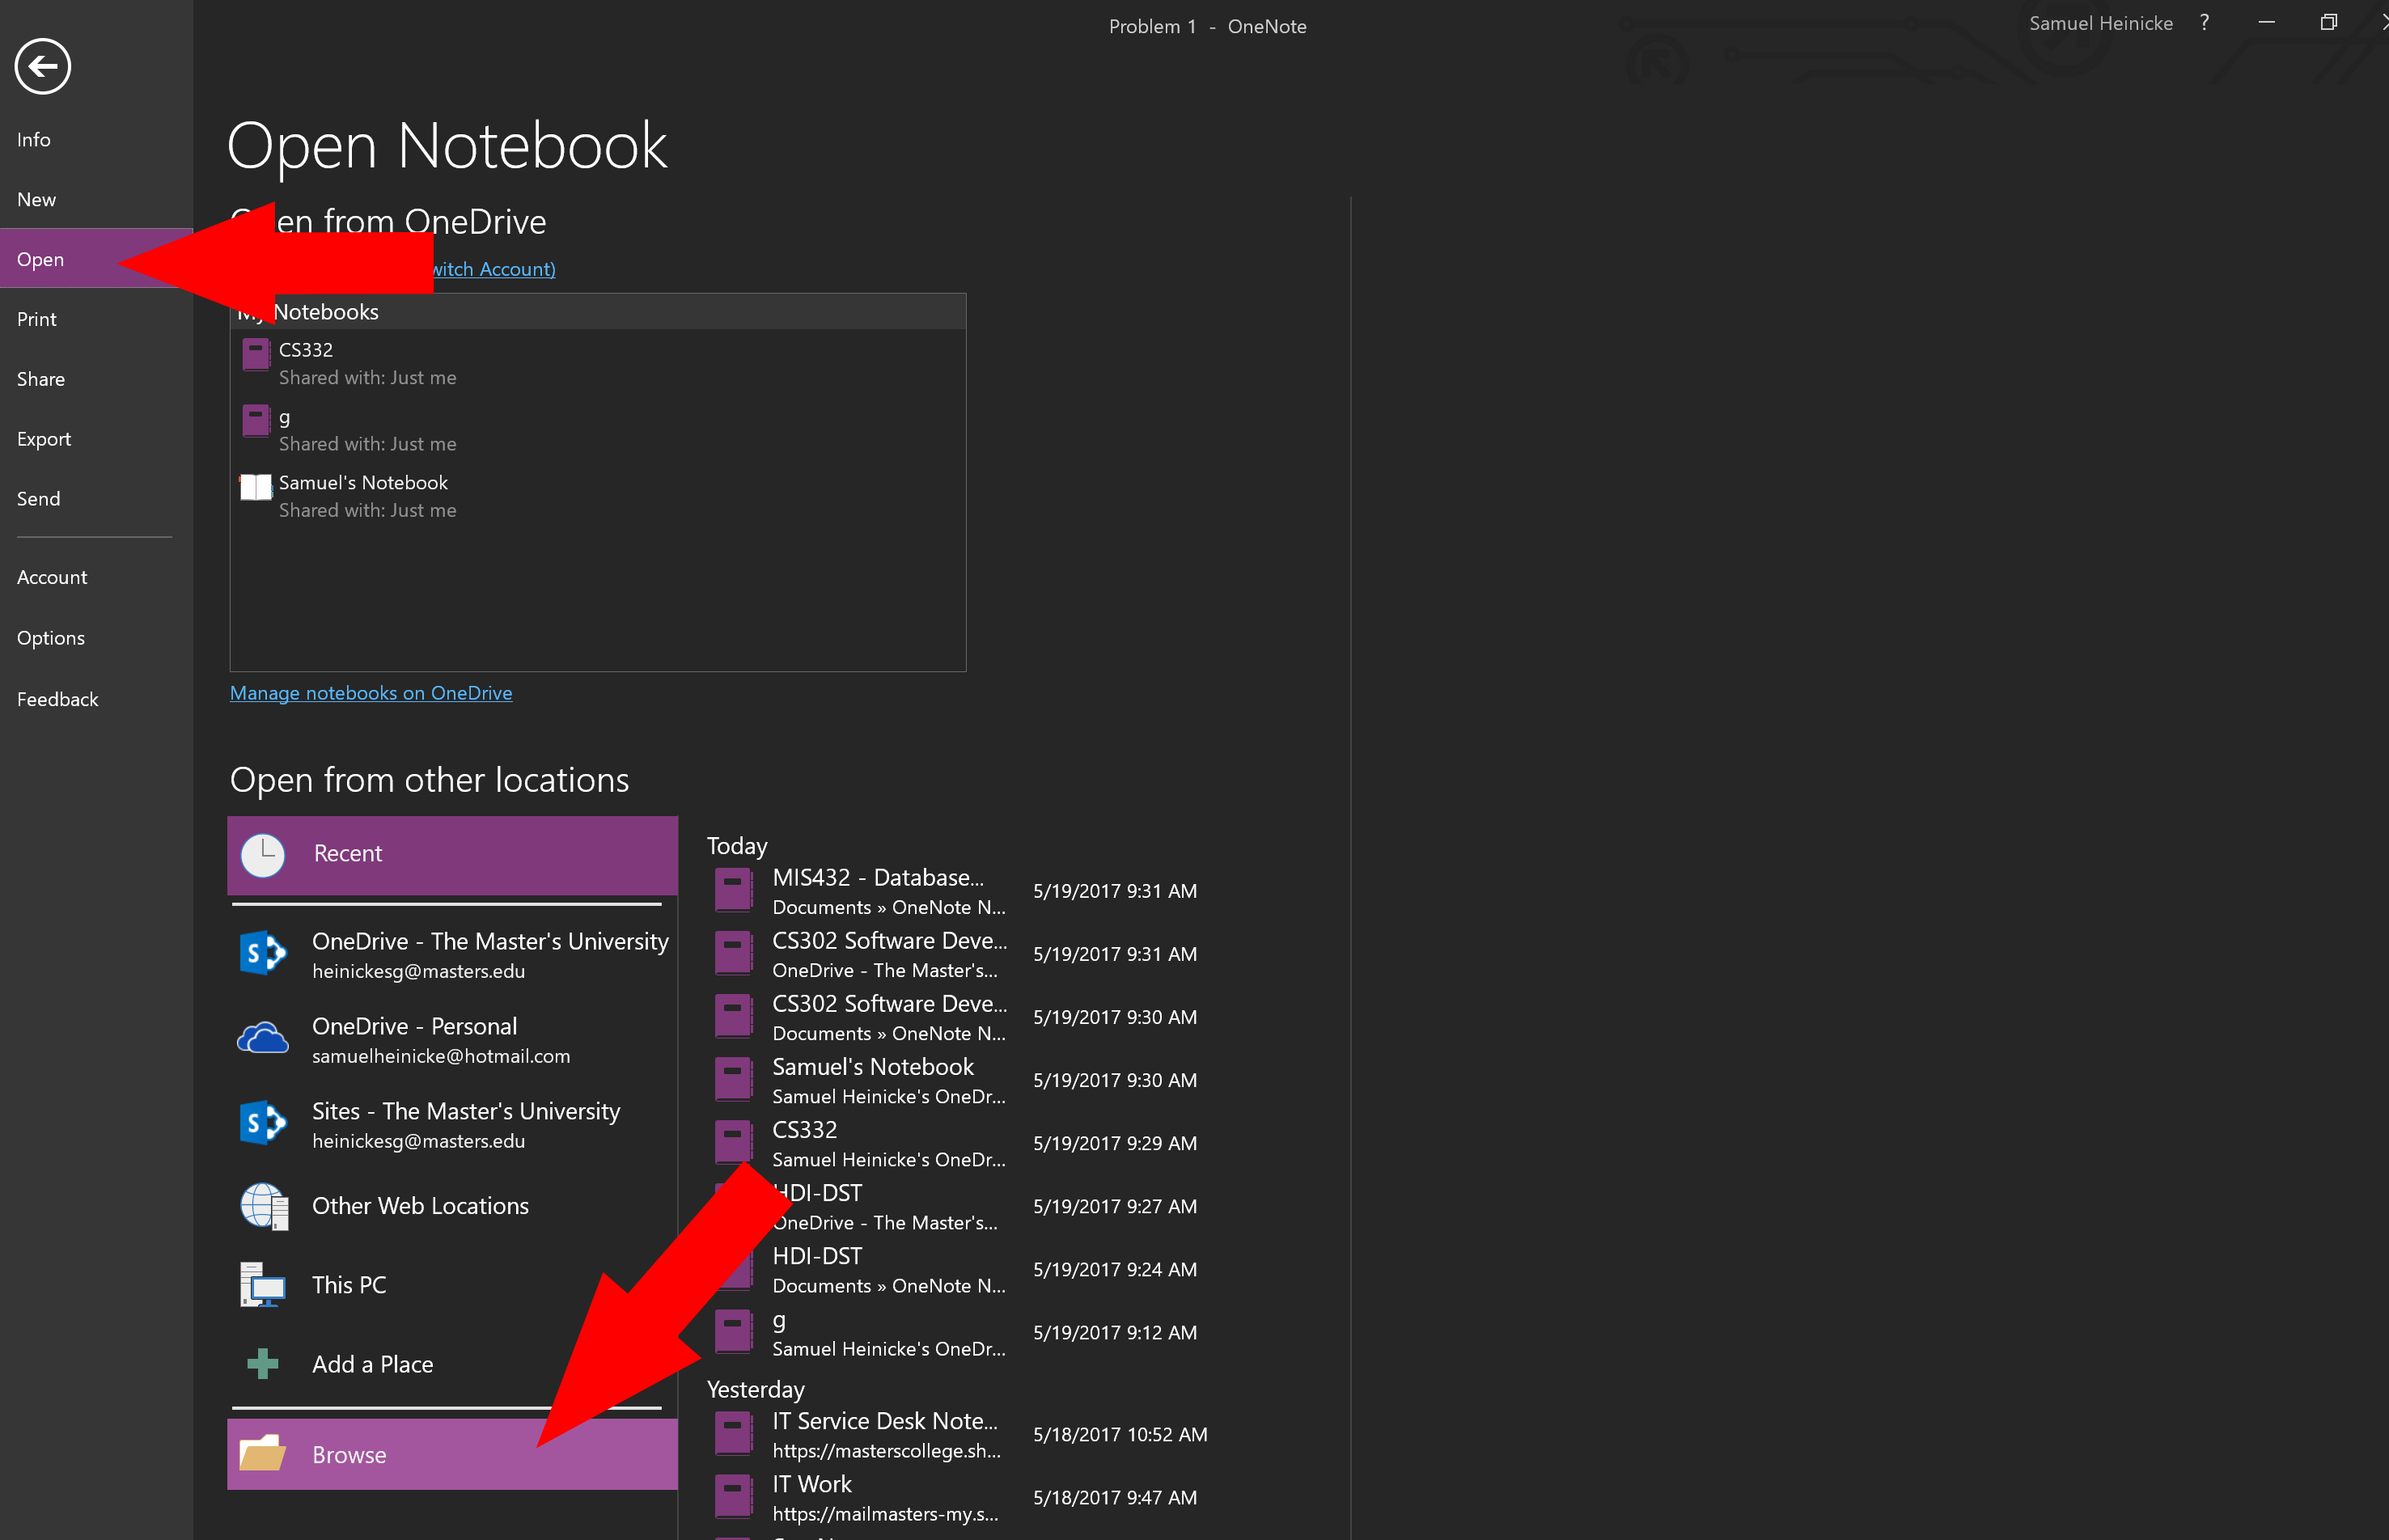
2. Now that one drive is added to the account, Select "File", Then "open" and finally "Browse"
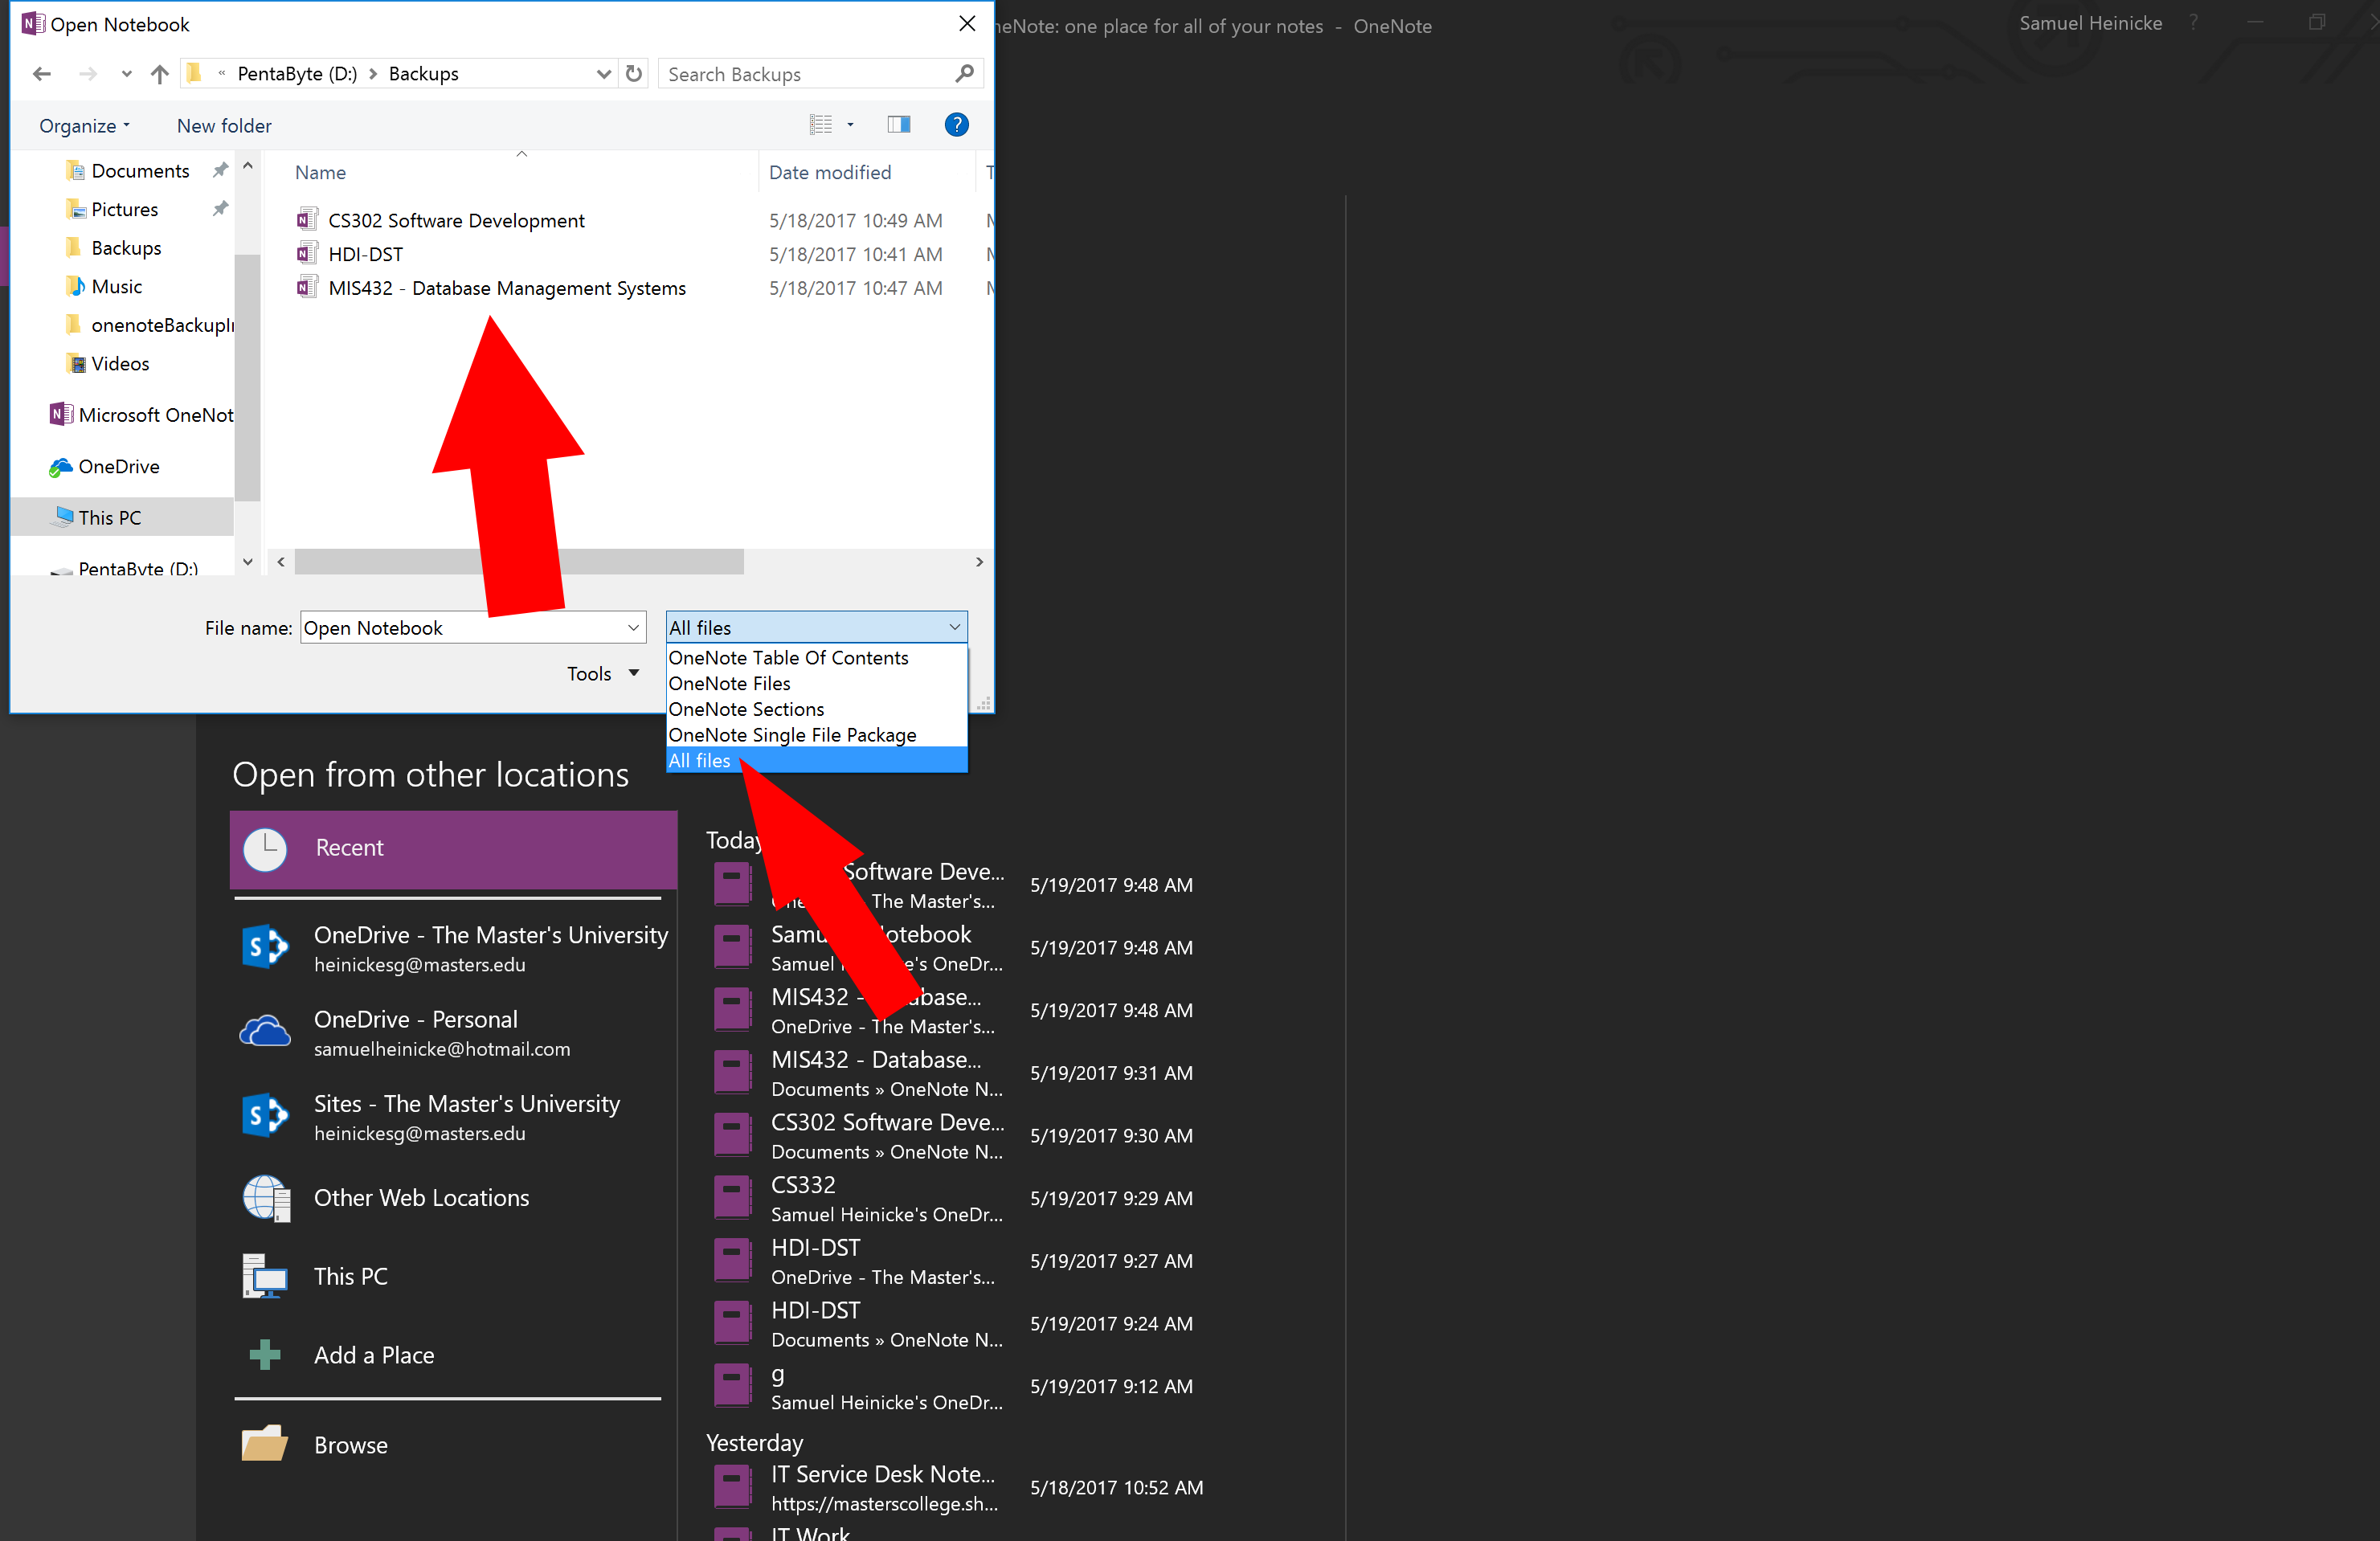
3. The Open Notebook Window appears. Navigate where you stored the notebook and double-click it. (NOTE: You may have to click the drop-down menu and choose "All Files")
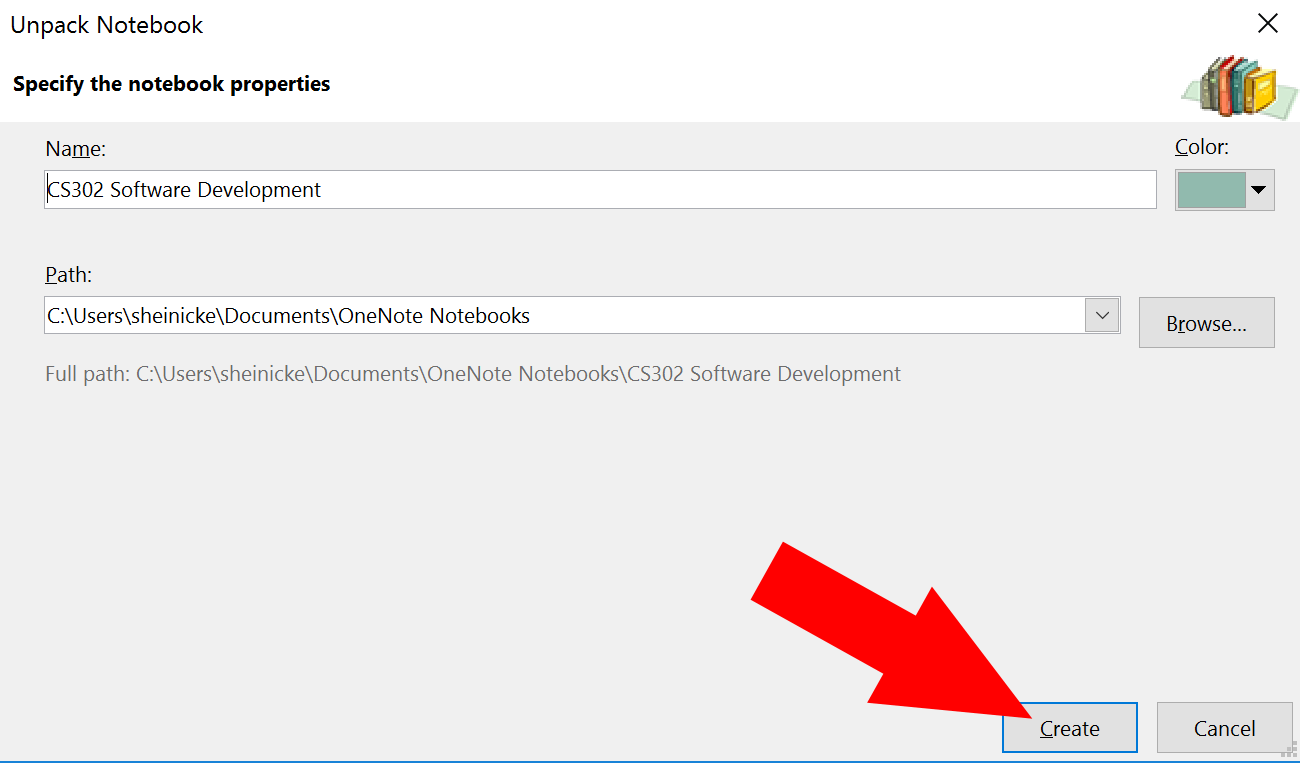
4. Once you double-click the notebook the "create notebook" screen pops up. Here you can specify a name for the notebook and choose a path where it will be stored. (If you plan to store the file in OneDrive, The path field is irrelevant)
5. NOTE: If you do not want to upload to one drive then you are DONE.
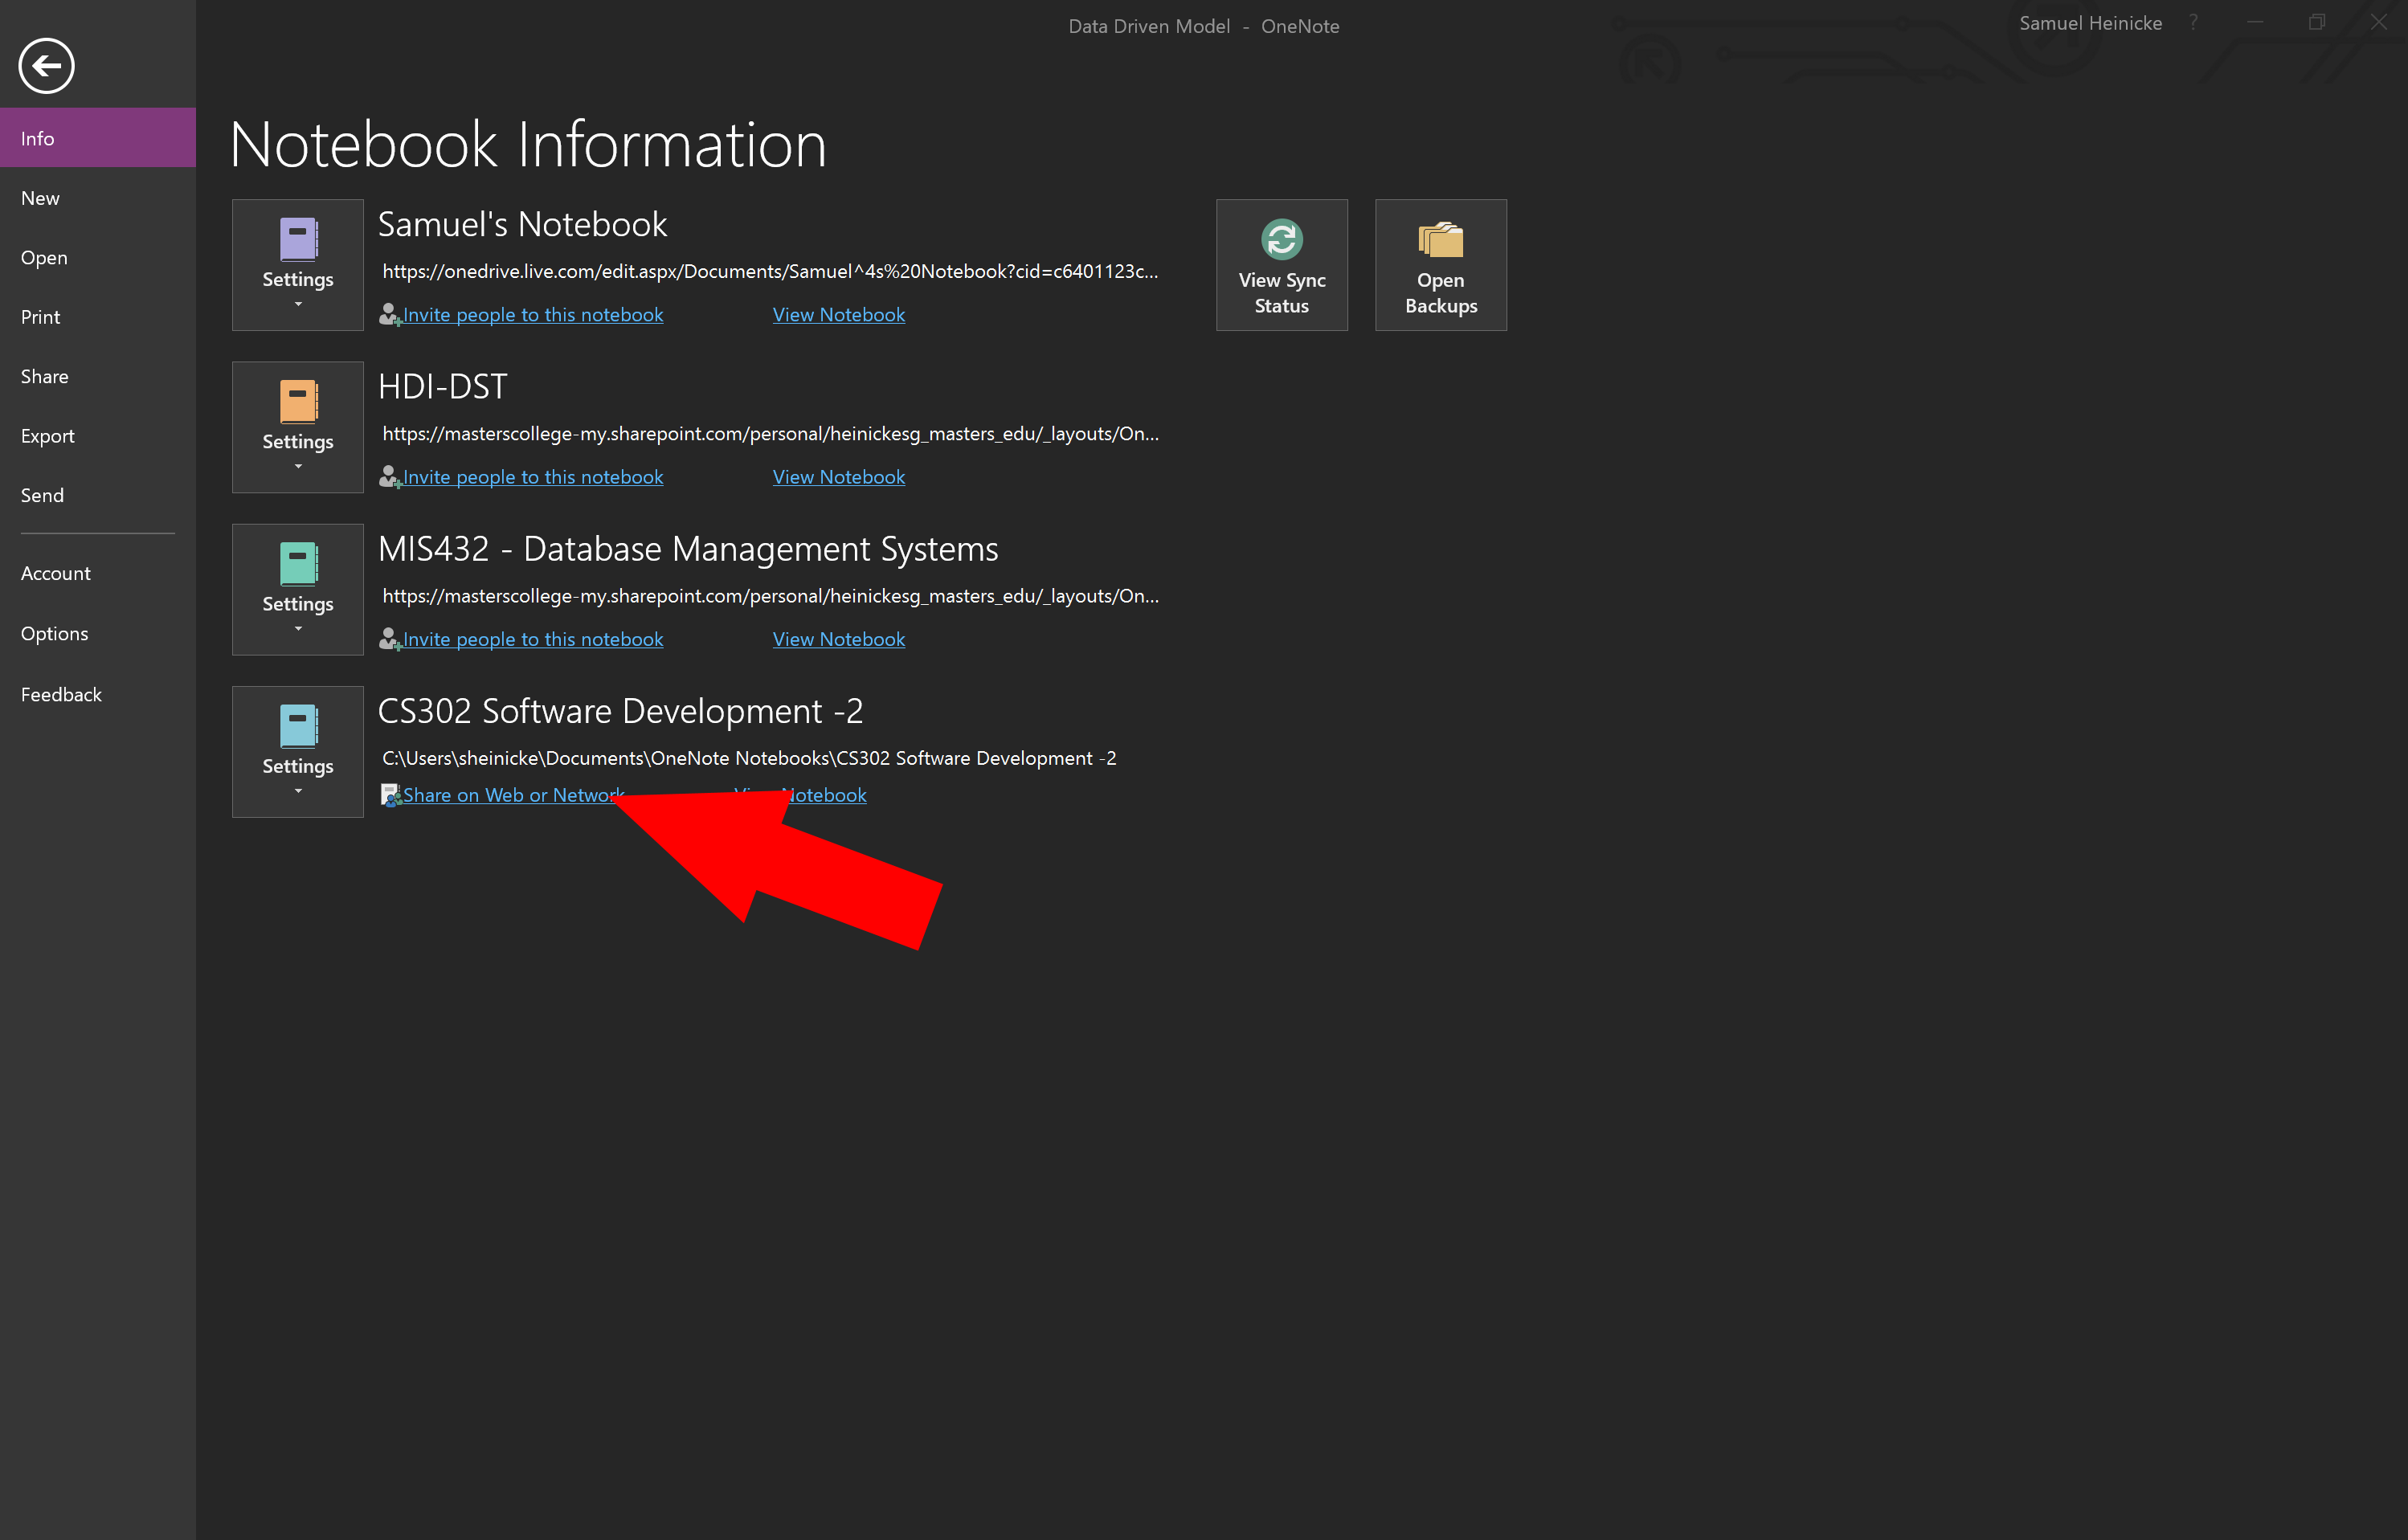
Press "File" again to bring up your notebook view. You should see the notebook that you just opened up. Click the "Share on Web or Network" Option
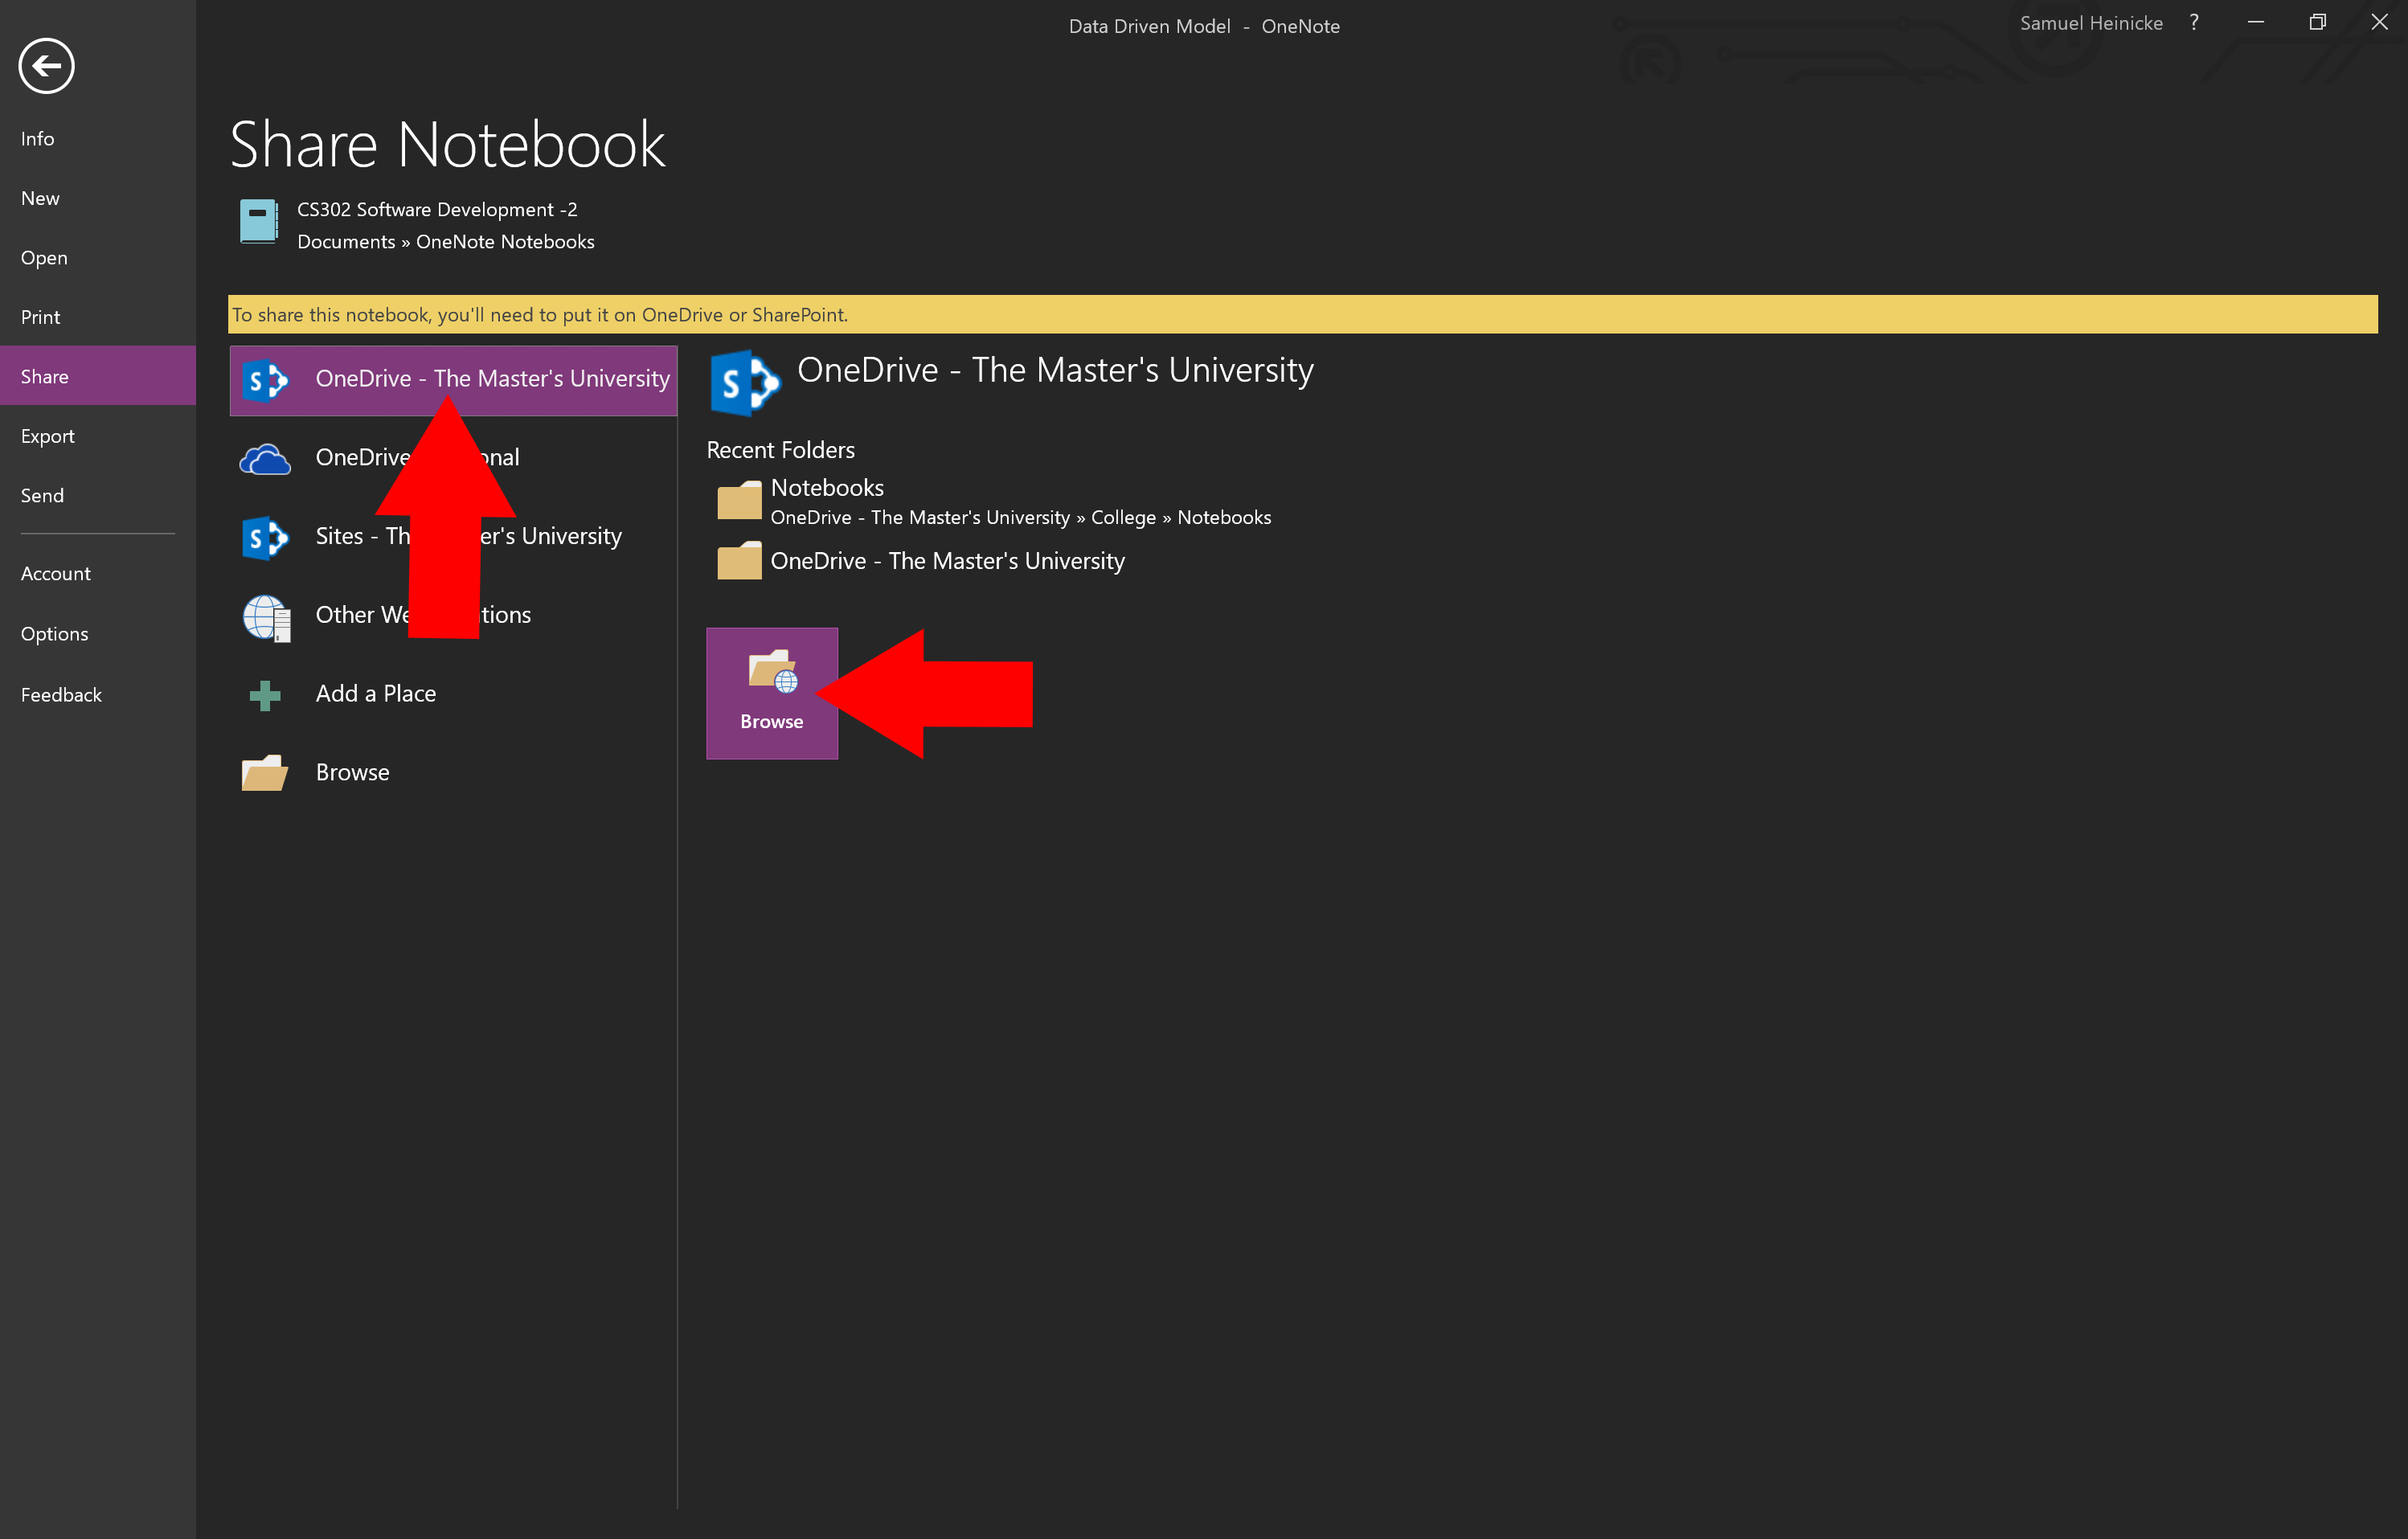
6. Clicking this will open up the Share window. You have a number of options here as to where to store it but we will be uploading it to the @masters.edu OneDrive that we added in step 1. Choose the "OneDrive - The Master's University" (the name of this may vary, but you are looking for the OneDrive SharePoint NOT the sites option, Notice this is also different from the OneDrive personal link seen here.) Finally, click "Browse" this will open a new window for you to browse the files in your OneDrive. Save the notebook wherever you wish in that file.
7. You are done! You have successfully stored the notebook into OneDrive. This will now allow you to have this notebook anywhere you are signed in with your @masters.edu account. It will also allow you to edit the notebook online.

